Welcome to Yongyi Fasteners, Your Reliable Fastener Supply Partner!

-
ProductsWe supply flat washers, spring washers, drop-in anchors, anchor bolts, hex nuts, hex bolts, sleeve anchors, threaded rods and OEM fastener products to DIN, BS, ANSI and MS standards.

-
About usHEBEI YONGYI FASTENERS MANUFACTURING CO.,LTD is located in China's largest fasteners production base Yongnian fasteners centre.
-
NewsHebei Yongyi Fasteners shares company updates, product knowledge and fastener industry news for global buyers.
-
ServiceThe products sold throughout the domestic and exported to Southeast Asia and Europe and other countries and regions. Our products win good reputation with domestic and foreign customers.



YONGYI FASTENERS
Support stable quality from material selection, processing and inspection to final delivery.
FOCUS ON HOT SPOTS


Beginner’s Guide to Installing Hex Screws Correctly
Published:
2026-05-06
Author:
YONGYI FASTENERS
Install hex screws correctly with tips on tool selection, alignment, torque, and avoiding common mistakes for secure, efficient, and lasting results.
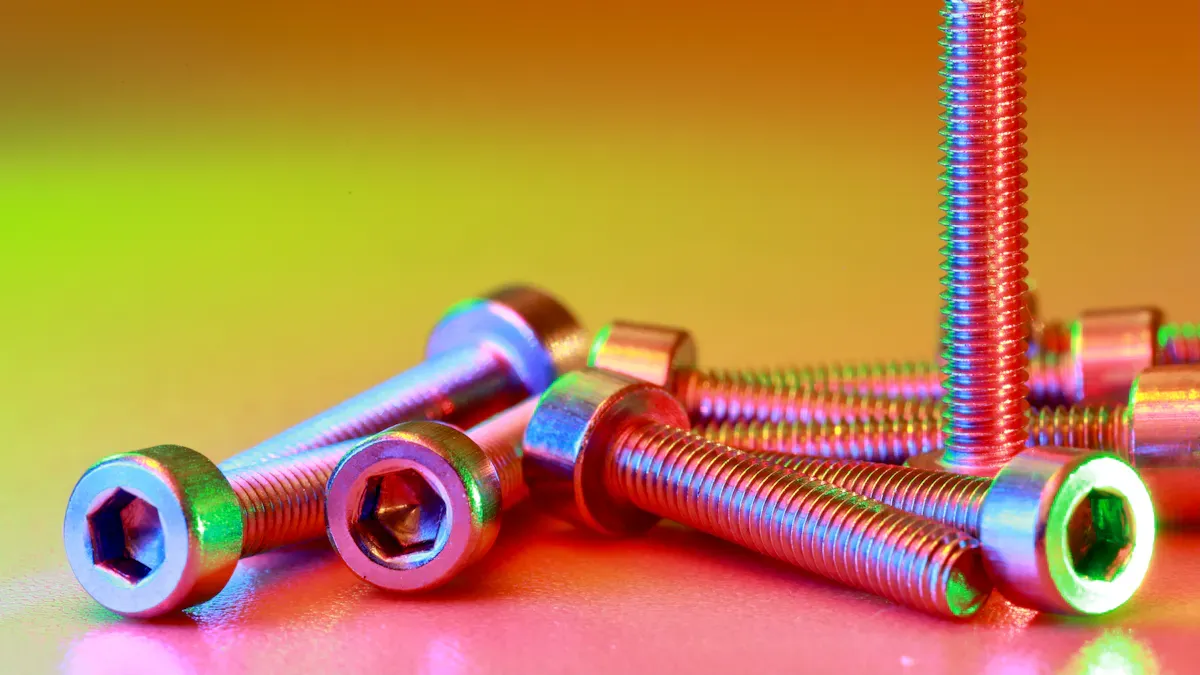
You want your projects to be safe, so putting in hex screws the right way is important. Hex screws hold things tightly and let you use ball-end Allen keys. These tools help you reach small spaces and turn the screw from the side. Using good ways to install them stops damage and makes your job simpler. If you follow the right tips, you will not get upset, and your work will be strong every time.
Key Takeaways
Pick the correct hex screw size and material for your job. This helps keep your project safe and strong.
Use hex keys or drivers that fit tightly. This stops the screw head from getting damaged when you put it in.
Always drill pilot holes before putting in hex screws. This keeps wood from splitting and helps the screw go in smoothly.
Start hex screws by hand first. This lets you check if the threads line up right and stops cross-threading.
Tighten hex screws until they feel snug. Then use a little more force, but not too much, so you do not make them too tight or too loose.
Keep your workspace neat and clean. This saves time and helps you make fewer mistakes when you work.
Put lubricants on screw threads to help them go in easier. This is very helpful when working with hard materials.
Check the tightness of hex screws often after you finish. This keeps your project strong and safe.
Hex Screws: Tools & Materials
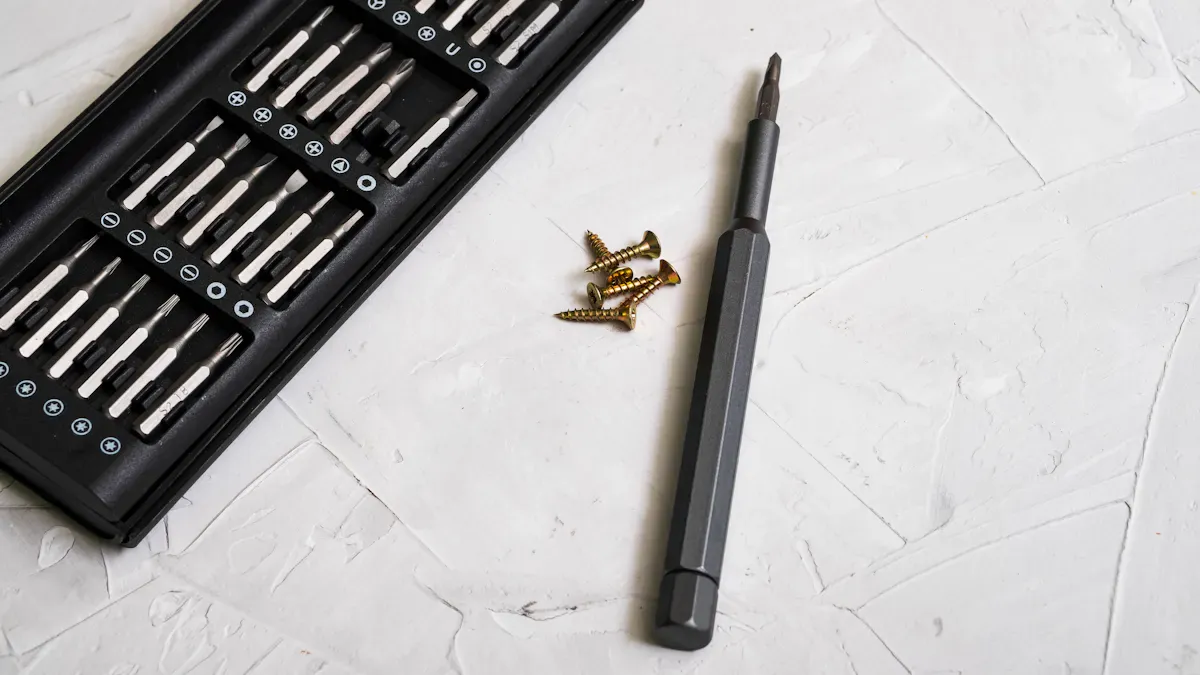
When you start working with hex screws, you need to know the types, the tools, and the accessories that make your job easier and safer. Choosing the right items helps you avoid mistakes and get a strong, lasting result.
Types of Hex Screws
Standard vs. Metric
You will find hex screws in both standard (imperial) and metric sizes. Standard sizes use inches, while metric sizes use millimeters. Always check your project instructions to see which type you need. Using the wrong size can damage the screw or the material.
Material Choices
Hex screws come in different materials. You might see steel, stainless steel, brass, or even nylon. Steel gives you strength for heavy jobs. Stainless steel resists rust, so it works well outdoors. Brass and nylon are good for light-duty or special uses. Pick the right material for your project’s environment and load.
Essential Tools
Hex Keys & Drivers
You need hex keys (Allen wrenches) or a driver to turn hex screws. Hex keys fit into the screw head and let you apply force. Drivers can be manual or powered. Manual drivers give you control, while power drivers save time on big jobs. Make sure your tool matches the screw size.
Magnetic Driver Bits
Magnetic driver bits help you hold hex screws in place, especially in tight spots or when you work overhead. These bits snap into your drill or screwdriver and keep the screw from falling. This feature makes installation faster and reduces dropped screws.
Helpful Accessories
Thread Lockers
Thread lockers are liquids or gels that you put on the threads of hex screws before installation. They stop screws from loosening due to vibration. Use them when you want a secure, long-lasting hold.
Lubricants
Lubricants make it easier to drive hex screws into tough materials. They reduce friction and help prevent stripping. A small drop on the threads can make a big difference, especially with metal or hardwood.
Note: The tools required for adjusting hex screws may include a center punch for marking holes, a drill for pilot holes, and a magnetic driver for easy handling.
Choosing the right hex screws and recommended tools ensures your project stays safe and secure. Always match the tool to the screw type and size. This step prevents damage and saves you time. When you use the right accessories, you make installation smoother and more reliable.
Installing Hex Screws: Step-by-Step
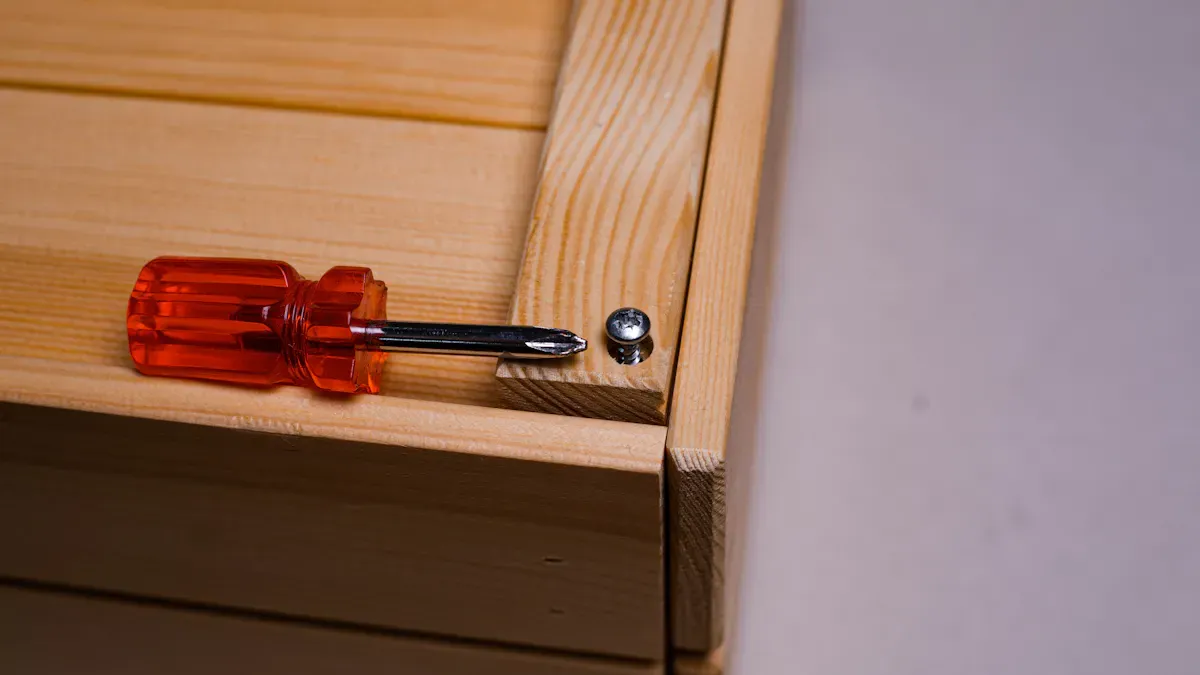
Prep the Work Area
Clean & Organize
Get ready for your project by cleaning your workspace first. Put down a blanket, pads, or cardboard to protect the floor. This stops scratches and keeps tools from damaging the surface. Use a utility knife to open boxes, but cut away from finished areas. This helps you avoid making marks or cuts where you don’t want them. Put all your hardware, like hex screws, in one tray. This keeps small parts together so you don’t lose them.
Tip: Sorting your tools and hex screws before you start saves time and helps you stay calm.
Safety Steps
Stay safe by following some simple rules. Wear safety glasses to keep your eyes safe from flying bits when you drill or drive screws. Put on gloves if you need to handle sharp things. Make sure your work area is bright so you can see what you are doing. Keep your space neat and clean to stop trips or spills.
Mark & Drill
Use a Center Punch
Mark each spot where you want to put a hex screw. Use a center punch to make a small dent at every mark. This helps your drill bit stay in place and not slip. Good marking is important when you need screws to line up just right.
Peck Drilling Technique
Drill a little at a time using the peck drilling method. Pull the drill bit out every few seconds to clear away dust. This keeps the hole clean and stops the bit from getting too hot. Peck drilling works for both wood and metal. It also helps you follow the rule of making a pilot hole before putting in hex screws.
Note: Always pre-drill holes in hard materials. This stops wood from splitting or metal from getting damaged.
Position & Align
Pilot Holes
Make your job easier by drilling pilot holes before you put in hex screws. Pilot holes guide the screws and make them go in more smoothly. They also stop wood from splitting and help you drive screws straight. Pick a pilot hole size that matches the screw’s core, not the threads. This step is important for a smooth and easy installation.
Thread Alignment Trick
Stop crooked screws by starting each hex screw by hand. This lets you feel if the threads are catching right. If it feels hard to turn, take the screw out and try again. Use alignment pins if you need to line up more than one part. Mark where each screw goes before you start. Check that the hex screws and flange nuts are flat before you tighten them. These steps help your project look neat and stay strong.
Tip: Check the fit before you tighten everything. This keeps your hex screws straight and stops damage.
Now you know how to install hex screws step by step. By getting your space ready, marking and drilling carefully, and lining up each screw, you make your project strong and safe.
Drive & Tighten
Manual vs. Power Tools
You can drive hex screws with either manual tools or power tools. Manual hex keys give you more control over the tightness of hex screws. You feel the resistance as you turn, which helps prevent over-tightening. Power tools, such as drills with hex driver bits, speed up installation. Use a low torque setting to avoid damaging the threads or the material. Always start the screw by hand to ensure proper thread alignment before switching to a power tool. This step reduces the risk of cross-threading and helps you achieve secure fastening.
Tip: Use magnetic driver bits with power tools to hold hex screws in place. This makes installation easier, especially in tight or awkward spots.
Avoid Over-Tightening
The tightness of hex screws matters for both safety and durability. If you over-tighten, you can strip the threads or crush the material. If you under-tighten, the screw may loosen over time. To get the right tightness of hex screws, follow these steps:
Turn the screw until it feels snug, then add a small amount of force.
Use a torque wrench if your project guide lists a specific torque value. This tool helps you reach the correct tightness of hex screws without guessing.
Tighten in a crisscross pattern if you have multiple hex screws in a row. This spreads the load evenly and improves the tightness of hex screws.
Stop if you feel sudden resistance or hear a creak. These signs mean you have reached the limit for the tightness of hex screws.
Check the tightness of hex screws again after a few minutes, especially if the material heats up during installation. Materials can expand or contract, which affects the tightness of hex screws. Re-tighten if needed to keep everything secure.
Final Check
Inspect Fit
After you finish installation, inspect the fit of each screw. Clean the contact surfaces to prevent stress problems. Look for gaps between the screw head and the material. Each hex screw should sit flat and flush. Use a flashlight to check hard-to-see areas. Replace any hex screws with cracks or stripped threads right away. This step ensures the tightness of hex screws and keeps your project safe.
Test Stability
Test the stability of your work by gently moving the parts you joined. If you feel movement, check the tightness of the hex screws again. Tighten any loose screws. Keep a checklist to track which hex screws you have inspected and replaced. Regularly check for rust, wear, or damage, especially if you use stainless steel hex screws. Follow the torque specifications from your project guide to maintain the right tightness of hex screws. Use a torque wrench for accuracy. Recheck the tightness of hex screws after any changes in temperature or load.
Note: Proper installation and regular checks help you maintain the tightness of hex screws and prevent future problems.
You now know how to drive, tighten, and check hex screws for secure fastening. Careful attention to the tightness of hex screws during installation and inspection ensures your project stays strong and safe.
Mistakes to Avoid
Wrong Tool Size
Hex screws require the right tool for secure installation. If you use a driver or hex key that does not fit snugly, you risk stripping the screw head. Stripped heads make removal difficult and weaken the connection. You should always check the tool size before starting. Match the hex key or driver to the screw head. Test the fit by gently turning the tool in the screw. If it slips or wobbles, select a different size.
Identifying the Right Fit
You can identify the correct tool fit by following these steps:
Insert the hex key or driver into the screw head.
Check for a snug, gap-free fit.
Turn the tool gently. If it moves without slipping, you have the right size.
Avoid forcing a tool that does not fit. This prevents damage.
Tip: Use the right bit for hex screws. A snug fit prevents stripping and ensures proper torque.
Over or Under-Tightening
Hex screws need precise tightening. Over-tightening can strip threads, break bolt heads, or crush the material. Under-tightening leaves the joint loose, causing vibration and fatigue failure. You should aim for the correct preload to avoid predictable joint failure.
Signs & Prevention
You can spot over or under-tightening by checking for these signs:
Over-tightening: Threads strip, bolt heads break, or the material creaks.
Under-tightening: Screws vibrate loose, joints separate under load, or bolts snap from fatigue.
Prevent these issues by:
Using a torque wrench for critical applications.
Turning hex screws until snug, then applying a small amount of force.
Starting slow with power tools and gradually increasing speed to maintain control.
Stopping if you feel sudden resistance or hear unusual sounds.
Note: Incorrect preload leads to joint failure. Under-torquing causes separation and fatigue. Over-torquing yields the shank and risks stripping or breaking.
Misalignment
Misalignment happens when hex screws do not sit straight or parts do not line up. This weakens the joint and can cause noise or failure. You should always start hex screws by hand to feel for proper thread engagement. Reusing bolts increases misalignment risk because they lose preload capacity.
Causes & Fixes
Common causes of misalignment include:
Using the wrong bolt or fastener.
Improper torque application.
Reusing bolts that have lost their original strength.
You can fix misalignment by:
Selecting new hex screws for each installation.
Applying torque evenly and staying perpendicular during installation.
Checking alignment before tightening fully.
Stay perpendicular when installing hex screws. This ensures proper engagement and prevents misalignment.
Material Issues
When you install hex screws, the material you work with can create unique challenges. Wood and metal each react differently to force and pressure. Knowing how to handle these issues helps you avoid costly mistakes and keeps your project strong.
Wood Splitting
Wood splitting is a common problem when you drive hex screws into wood. This happens most often when you use too much force or skip important steps. Over-torquing the screw can cause the wood fibers to separate. You might see cracks form along the grain or near the edge of the board. These splits weaken the joint and can ruin the appearance of your work.
To prevent wood splitting, follow these tips:
Drill a pilot hole before inserting the hex screw. The pilot hole should match the screw’s core diameter.
Use a center punch to mark the spot. This keeps the drill bit from wandering.
Avoid placing screws too close to the edge of the wood. Leave at least twice the screw’s diameter as a buffer.
Turn the screw slowly and stop when you feel resistance. Do not force the screw deeper than needed.
Use lubricants on the screw threads if you work with hardwood. This reduces friction and helps the screw glide in smoothly.
Tip: If you notice the wood starting to split, back out the screw and try again with a larger pilot hole or move the screw location.
Metal Leaks
Metal leaks refer to gaps or seepage that can occur when you fasten metal parts with hex screws. These leaks often happen when you use the wrong washer or apply too much torque. Excessive force can damage the washer, causing it to deform or crack. This creates a path for fluids or air to escape, which can lead to rust or system failure.
You can avoid metal leaks by:
Selecting the correct washer for your application. Flat washers spread the load, while sealing washers prevent leaks.
Checking that the washer sits flat against the metal surface before tightening.
Tightening the hex screw only until the washer compresses slightly. Do not over-torque.
Inspecting washers for damage before use. Replace any that show signs of wear or deformation.
Using thread lockers if vibration is a concern. This keeps the screw secure and reduces the risk of leaks.
Note: Proper washer selection and careful tightening are crucial. A damaged washer or too much torque can lead to leaks and compromise the integrity of your project.
Common Material-Specific Issues with Hex Screws:
Over-torquing can lead to wood splitting.
Washer damage can occur due to excessive torque.
Proper washer selection is crucial to prevent leaks.
By understanding how wood and metal respond to hex screws, you can take steps to prevent splitting and leaks. Careful preparation and attention to detail help you achieve a secure, long-lasting result.
Efficiency Tips for Hex Screws
Organize Tools & Screws
Sorting & Storage
You can work faster and avoid mistakes by keeping your tools and hex screws organized. Place each bit back in its slot after use. This habit prevents loss and confusion. Clean your bits often to remove metal shavings and debris. Store your kit in a dry place to stop rust from forming. Use small trays or bins to separate different screw sizes. Label each container so you can find what you need quickly.
Tip: A tidy workspace helps you focus and reduces the chance of dropping or losing screws.
Prep for Speed
Lubrication & Pilot Holes
You can save time and effort by preparing your materials before you start. Apply a small amount of lubricant to the threads of each hex screw. This step reduces friction and makes driving easier. Drill pilot holes in wood or pre-drill steel to guide the screw and prevent splitting or slipping. Keep your drill at a perpendicular angle to the surface. This position helps you avoid mistakes and keeps the screw straight. Drive screws at a steady speed to minimize damage to the screw face.
Note: Preparation steps like lubrication and pilot holes help you install hex screws quickly without sacrificing quality.
Power Tool Tricks
Torque Settings
Power tools can make your work faster, but you need to use them correctly. Always wear safety glasses and gloves to protect yourself from flying debris. Choose the right bit for your impact driver and make sure it matches the screw size. Adjust the torque setting based on the size and type of screw. This adjustment prevents over-driving and protects the material. Hold the tool with both hands for better control. Keep the tool straight to ensure proper alignment.
Try these torque tips: Start with a low setting and increase only if needed. This method helps you avoid stripping threads or damaging the surface.
Quick Change Bits
Quick change bits let you switch between different sizes fast. You do not need to stop and search for another tool. This feature is helpful when you work with many screw sizes in one project. Make sure each bit locks in place before you start applying torque. This step keeps the bit from slipping and protects both the screw and the tool.
When you use quick change bits, you can keep your workflow smooth and efficient. Always check the fit before applying torque to avoid mistakes.
By organizing your tools, preparing your materials, and using power tools wisely, you can install hex screws quickly and safely. These steps help you finish your project with less stress and better results.
Troubleshooting Hex Screw Problems
Hex screws can present challenges during installation and removal. You can solve most issues with the right approach and tools. This section covers common problems and practical solutions.
Stripped Screws
A stripped hex screw head makes removal difficult. You may notice the tool slips or cannot grip the screw. Several methods can help you remove a stripped screw without damaging your project.
Removal Methods
Tip: Start with the simplest method, such as the rubber band trick, before moving to advanced options.
Cross-Threading
Cross-threading happens when the screw threads do not match the threads in the hole. This can damage both the screw and the material. You can prevent cross-threading by following a few simple checks.
Fixing Threads
Pitch Mismatch: Make sure the thread pitch of the screw matches the nut or tapped hole.
Wrong Diameter: Use the correct screw diameter to avoid binding.
Finger-Start Test: Begin threading the screw by hand. If you feel resistance, stop and realign.
Verify Thread Pitch: Use a thread pitch gauge before assembly.
Perform Finger-Start Test: Thread the bolt by hand for at least two turns. If it requires force, stop immediately.
If you notice cross-threading, remove the screw and inspect the threads. You can use a thread chaser or tap to clean damaged threads. Replace the screw if you see visible damage.
Note: Always check for loose screws after installation to ensure proper engagement and safety.
Stuck or Loose Screws
Stuck screws can slow down your work. Loose screws can cause parts to move or fail. You need to address both issues quickly.
Extraction & Retightening
Apply a high-quality penetrating oil to the stuck screw. Tap the screw lightly to help the oil reach the threads.
Use the correct screwdriver and apply steady pressure. Try tightening the screw slightly before loosening.
Use an impact driver for stubborn screws. This tool delivers a controlled shock force.
Apply heat to the surrounding material. Heat can break the bond of corrosion and make removal easier.
If you find a loose screw, remove it and inspect the threads. Clean the hole and the screw. Reinstall the screw and tighten it to the recommended torque. Always check for loose screws during routine maintenance.
You can solve most hex screw problems with patience and the right technique. Regular checks and proper installation keep your projects safe and reliable.
You can get strong results if you follow these steps for hex screws. Pick the right size hex key and allen wrench for your job. The hex socket shape spreads out force and helps stop damage. Keep your workspace neat and mark where you want to drill. Drill slowly and line up each screw before you tighten it. Use tips to work faster and fix problems when they happen. Practice these steps to get better and feel sure of your skills. If you use the right tools and do not make common mistakes, your hex screws will work well and look neat.
Always use the same steps and check your work often to keep your hex screws safe and strong.
FAQ
What is the best way to start a hex screw?
You should always start a hex screw by hand. This helps you feel if the threads catch correctly. If you feel resistance, remove the screw and try again. This step prevents cross-threading and damage.
How do I know if my hex screw is tight enough?
Turn the screw until it feels snug. Add a small amount of force. If you use a torque wrench, follow the recommended value. Stop tightening if you hear a creak or feel sudden resistance. This keeps your project safe.
Can I use power tools for hex screws?
You can use power tools for hex screws. Set the tool to low torque. Start the screw by hand to align threads. Switch to the power tool for faster driving. Always check the screw after installation to make sure it is secure.
What should I do if a hex screw gets stripped?
Try using a rubber band between the tool and screw head. If that does not work, use a screw extractor. Apply steady pressure and turn slowly. Avoid forcing the tool, as this can cause more damage.
How do I prevent wood from splitting when using hex screws?
Drill a pilot hole before inserting the screw. Use a center punch to mark the spot. Do not place screws too close to the edge. Turn the screw slowly and stop if you see cracks. Lubricate the threads for hardwood.
Is there a trick for adjusting hex screws in tight spaces?
You can use ball-end hex keys or magnetic driver bits. These tools let you reach screws at an angle. Work slowly and check alignment often. This method helps you adjust screws without damaging the head or material.
How often should I check hex screws after installation?
Check hex screws after a few minutes, especially if the material heats up. Inspect them again after changes in temperature or load. Regular checks help you spot loose or damaged screws early and keep your project secure.
Can I reuse hex screws?
You can reuse hex screws if the threads look clean and undamaged. Always inspect each screw before reinstalling. Replace any screw with worn or stripped threads. New screws give you the best hold and safety.
Get Quote
Welcome To Know Our Products
Get Product and Service Information
Follow us
We provide OEM service and focus on stable quality, competitive pricing and responsive export support.


Contact Info
Add:Dongmingyang Industrial Park, Mingguan Town, Yongnian District, Handan City, Hebei Province China
Export salesman:
WhatsApp:+86 18830064300
E-mail: sales@hgtfix.com
Export salesman:
WhatsApp
+86 18830064300
E-mail:
Copyright © 2022 HEBEI YONGYI FASTENERS MANUFACTURING CO.,LTD Power by 300.cn | SEO