Welcome to Yongyi Fasteners, Your Reliable Fastener Supply Partner!

-
ProductsWe supply flat washers, spring washers, drop-in anchors, anchor bolts, hex nuts, hex bolts, sleeve anchors, threaded rods and OEM fastener products to DIN, BS, ANSI and MS standards.

-
About usHEBEI YONGYI FASTENERS MANUFACTURING CO.,LTD is located in China's largest fasteners production base Yongnian fasteners centre.
-
NewsHebei Yongyi Fasteners shares company updates, product knowledge and fastener industry news for global buyers.
-
ServiceThe products sold throughout the domestic and exported to Southeast Asia and Europe and other countries and regions. Our products win good reputation with domestic and foreign customers.



YONGYI FASTENERS
Support stable quality from material selection, processing and inspection to final delivery.
FOCUS ON HOT SPOTS


3 easy ways to install hex bolts securely
Published:
2026-06-01
Author:
YONGYI FASTENERS
Install hex bolts securely with correct tools, washers, and torque. Prevent loosening and damage for safe, long-lasting joints in any application.
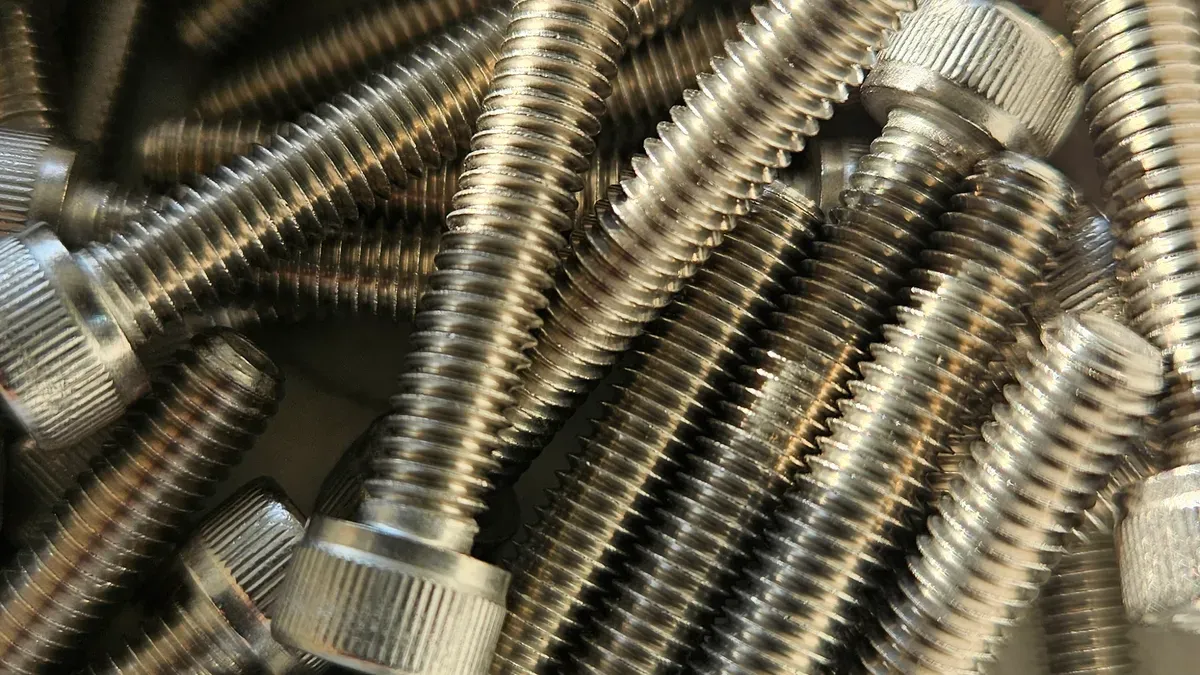
You can fit hex bolts tightly in three simple ways. You can use a spanner by hand, a socket set, or a torque wrench. Always pick the right size and grade for your job. This is very important when you join metal to wood. Check each bolt for damage or rust before you begin. Choose fasteners that suit the material you are using. Look at the hexagonal head and thread for any faults. Use the right spanner or socket for the head. Add washers to keep the hole safe. Clean the threads and follow the torque rules for safe fixing. When you use hex nuts, lock nuts, or a screw in a hole, always check the fit. Make sure the screw and the head fit well for a strong hold.
Tip: Clean the threads and use washers to stop damage and help them last longer.
Why Secure Hex Bolt Installation Matters
When you put in a hex bolt, you make a choice. This choice affects how safe and strong your project is. If you fasten bolts tightly, your project stays steady and safe. If you do not fit bolts the right way, you could face big problems.
Risks of Improper Bolts Installation
Safety Hazards
Bolts that are loose or not fitted well can cause accidents. Parts might come apart or heavy things could move. In machines, a loose screw or hexagonal head can break free. This can hurt people who are close by. The Health and Safety Executive says bad fasteners make injuries more likely at work. You must check each screw and hex nuts to make sure they are tight.
Structural Weakness
If you install bolts the wrong way, the structure gets weaker. Using the wrong size or not tightening enough can make joints fail. If you tighten too much, you can damage threads or the material. In wood-to-metal joints, a loose bolt can split the wood or bend the metal. This makes the whole build less strong.
Note: One loose bolt can cause other parts to fail. This can lead to bigger problems in your project.
Benefits of Secure Hex Bolts
Longevity
If you fit hex bolts the right way, your project lasts longer. Tight bolts stop parts from moving or wearing out fast. You will not need to fix things often. Washers and clean threads help bolts stay strong for more time.
Reliability
A tight bolt helps you feel safe. You know your fasteners will hold when things get tough. This matters in furniture, cars, and outdoor builds. Good bolts keep everything together, even if you use it every day.
Here is a simple chart that shows how often bolts fail with good and bad fitting:
You can see that fitting bolts the right way stops most failures. Experts say following the correct steps for each bolt and screw makes your work safer and stronger.
Preparation: Choosing the Right Size and Grade
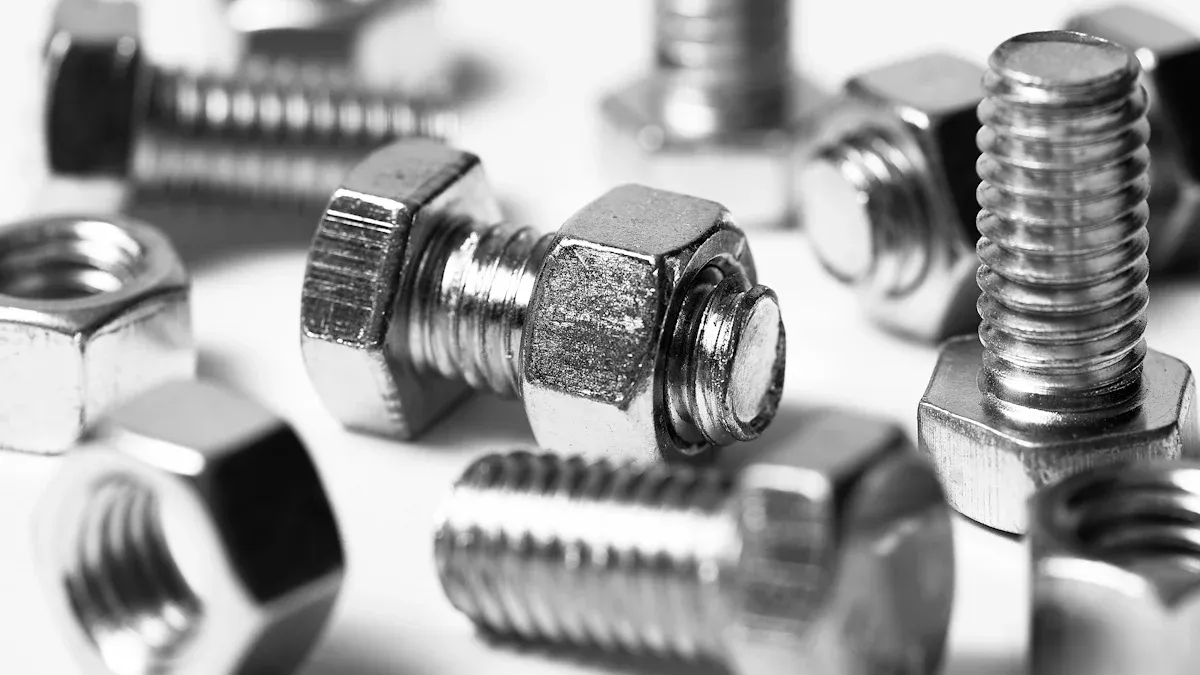
Before you install a hex bolt, you need to make sure you have the right one for your job. The correct size and grade will help you avoid problems like weak joints or damaged materials. Experts in construction and engineering agree that careful selection at this stage prevents most failures later.
Selecting Hex Bolt Size
Measuring for Fit
Start by measuring the hole or the parts you want to join. Use a ruler or calliper to check the diameter. The diameter must match the hole closely. If the bolt is too small, it will not hold. If it is too large, it can damage the material. You should also measure the length. The length should allow the bolt to pass through all layers and leave enough thread for a nut or washer. Always check the manufacturer’s guide for the recommended size for your application.
Application Requirements
Think about what you are building. Heavy loads or moving parts need thicker bolts with a larger diameter. For light jobs, a smaller bolt may work. Outdoor projects need bolts that resist rust. Indoor furniture may need a different grade. Always match the bolt to the demands of your application. If you are unsure, ask a professional or check a trusted reference chart.
Inspecting Bolts Before Use
Checking for Damage or Corrosion
Look at each bolt before you use it. Check the threads for any dents, bends, or missing pieces. Rust or corrosion weakens the bolt and can cause it to fail. If you see any damage, do not use that bolt. Experts recommend replacing any bolt that looks worn or damaged, even if the damage seems small.
Material Compatibility
Make sure the bolt material matches the parts you are joining. For example, use stainless steel bolts with stainless steel parts to prevent corrosion. Mixing metals can cause rust or weaken the joint. If you work with wood, choose bolts that will not split the grain. For metal-to-metal joints, use bolts that match the strength of the materials. This step helps you avoid future repairs and keeps your project safe.
Tip: Always keep spare bolts in different sizes and materials. This helps you handle unexpected issues during installation.
By taking time to select the right hex bolt and checking each one before use, you set up your project for success. Careful preparation saves time and prevents costly mistakes.
Method 1: Hand-Tightening Hex Bolts with a Spanner
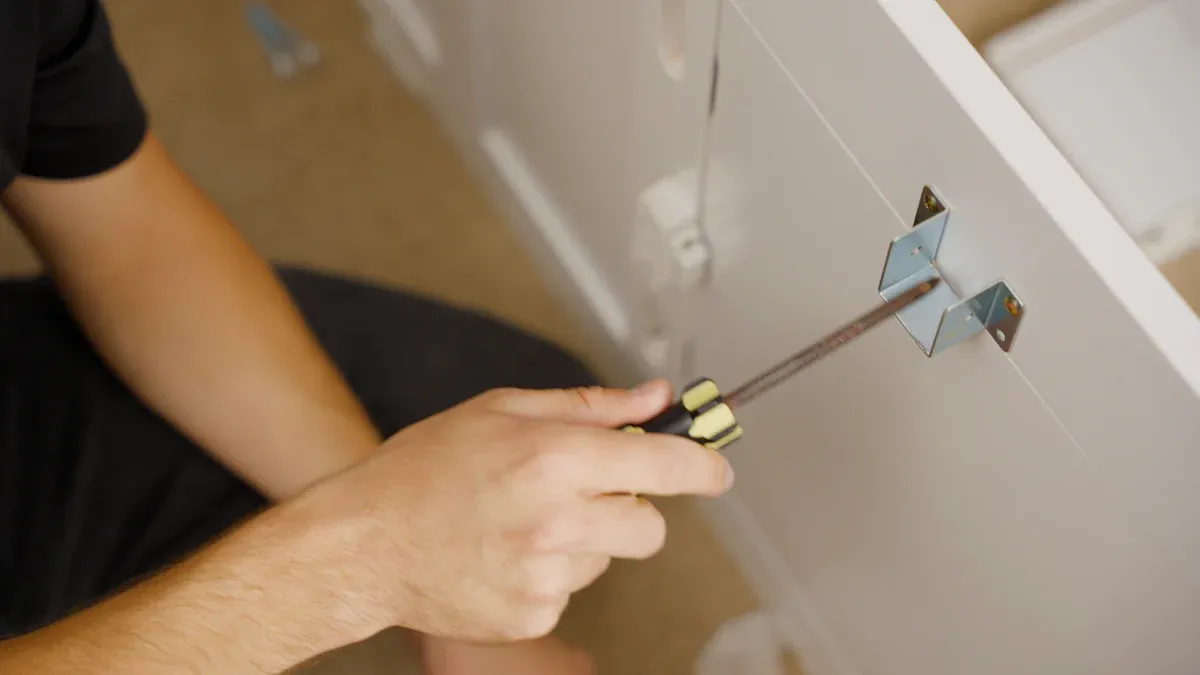
Tools Needed for Hex Bolts
Choosing the Right Spanner
You need the correct size spanner to fit the hex bolt head. Measure the diameter of the head before you select your tool. A spanner that matches the head prevents slipping and damage. Experts recommend checking the manufacturer’s guide for the right spanner size. If you use the wrong tool, you risk rounding the head or injuring your hand.
Using Washers
Washers help distribute the load and protect the material around the hole. Place a washer between the bolt head and the surface. This step reduces wear and keeps the fasteners secure. Washers also prevent the head from digging into softer materials, such as wood.
Step-by-Step Hand-Tightening
Cleaning Threads
Clean the thread of the bolt before you start. Use a wire brush or cloth to remove dirt and rust. A clean thread ensures smooth tightening and prevents binding. If you see corrosion, replace the bolt. Experts in engineering stress that clean threads improve the strength of the joint.
Aligning and Inserting the Bolt
Align the bolt with the drill hole. Insert the bolt straight to avoid cross-threading. If you work with wood, drill pilot hole first. This step prevents splitting and makes it easier to fit the bolt. Choose a drill bit that matches the diameter of the bolt. Insert the bolt until the thread engages with the material.
Tightening by Hand
Turn the spanner clockwise to tighten the bolt. Apply steady pressure. Stop when the bolt feels snug. If you use a wrench, avoid sudden force. Check the length of the bolt to ensure enough thread remains for a nut or washer. For metal-to-metal joints, tighten until the head sits flush with the surface. For wood, avoid crushing the grain.
Tip: Tighten bolts in stages. Alternate between bolts if you have more than one in a joint. This method keeps the load balanced.
Safety Tips for Bolts
Avoiding Over-Tightening
Do not over-tighten the bolt. Too much force can strip the thread or damage the hole. Experts advise stopping when you feel resistance. If you need more torque, use a torque wrench for precision.
Protecting Your Hands
Wear gloves to protect your hands from sharp edges. Hold the spanner firmly. Keep your fingers away from the head and thread. If the bolt resists, check for debris in the hole or thread.
You can achieve a secure fit with careful preparation and the right tools. Hand-tightening works well for small projects and repairs. Always check the bolts after installation to ensure they remain tight.
Method 2: Socket Set for Better Torque on Bolts
Using a socket set gives you more control and power when tightening bolts. This method works well for larger projects or when you need to apply extra force. You can achieve a secure fit and reduce the risk of damaging the head or the material.
Tools for Socket Set Applications
Selecting Socket Size
You must choose the correct socket size for your hex bolt. Measure the diameter of the head with a ruler or calliper. The socket should fit snugly over the head without slipping. If the socket is too large, it can round off the head. If it is too small, it will not fit at all. Always check the markings on the socket and compare them to the diameter of your bolt.
Extension Bars
Sometimes, you need to reach bolts in deep or tight spaces. Extension bars help you access these areas without straining your hand. Attach the extension bar to your socket wrench, then fit the socket onto the head. This setup lets you work in awkward spots and keeps your hand away from sharp edges.
Essential tools for this method include:
Socket set for tightening and loosening bolts
Pliers for holding fittings or assisting with stubborn screws
Step-by-Step Socket Tightening
Preparing the Work Area
Clear your work area before you start. Remove any debris or loose material around the hole. This step helps you avoid slipping and keeps your tools clean. Place all fasteners, sockets, and extension bars within easy reach.
Cleaning Threads
Check the thread of each bolt and the hole for dirt or rust. Use a wire brush or cloth to clean them. Clean threads allow the screw to turn smoothly and prevent binding. If you see damage or corrosion, replace the bolt before you continue.
Applying Steady Pressure
Insert the bolt into the hole and align it with the material. Place the socket over the head and turn the wrench clockwise. Apply steady, even pressure. Do not rush or use sudden force. Tighten the bolt until the head sits flush with the surface. For wood, stop when you feel resistance to avoid crushing the grain. For metal, ensure the head is secure but do not over-tighten.
Safety and Best Practices
Preventing Slips
Hold the wrench firmly and keep your hand away from the head. If the socket slips, stop and check the size. A proper fit prevents injury and protects the head from damage. Wear gloves to protect your hands from sharp edges or hot surfaces.
Using Washers
Always use a washer between the head and the material. Washers spread the load and protect the surface around the hole. This step helps your bolts last longer and keeps the joint strong.
Tip: Use a drill with the correct bit to make a pilot hole if you work with wood. This prevents splitting and makes it easier to insert the screw.
You can achieve a secure and reliable installation with a socket set. This method gives you better torque and control, especially for larger diameter bolts or when working in tight spaces.
Method 3: Torque Wrench for Precise Hex Bolt Tightening
A torque wrench gives you the most accurate way to tighten a hex bolt. You can use this tool to apply the exact force needed for your project. This method works well when you need to follow strict specifications or want to avoid damaging materials.
Tools for Torque Wrench Use
Types of Torque Wrenches
You can choose from several types of torque wrenches. The most common are click, beam, and digital. A click type makes a sound when you reach the set force. A beam type shows the force on a scale. A digital type displays the value on a screen. Experts recommend using a click or digital wrench for beginners because these give clear feedback.
Setting Correct Torque
You must set the correct torque before you start. Check the instructions for your fasteners or ask a professional if you are unsure. Use the adjustment dial or buttons on your wrench to set the value. Always use the unit shown in your guide, such as Newton-metres (Nm). Setting the right torque prevents over-tightening and keeps your bolts secure.
Step-by-Step Torque Tightening
Cleaning Threads
Clean the threads of your screw and the hole with a brush or cloth. Remove all dirt, oil, and rust. This step helps the screw turn smoothly and ensures the force from the wrench spreads evenly. Experts say clean threads reduce the risk of binding and make the joint stronger.
Adjusting the Torque Wrench
Fit the correct socket onto the head of your wrench. Check that the socket matches the size of the bolt head. Place the wrench on the bolt and make sure it sits flat. Adjust the handle or dial to your chosen torque setting. Lock the setting if your tool has this feature.
Tightening to Specification
Turn the wrench slowly and steadily. Stop when you hear a click or see the correct value on the display. Do not keep turning after you reach the set torque. Check that the head sits flush with the surface. If you use more than one bolt, tighten each in stages to keep the load even.
Tip: Always drill a pilot hole if you work with wood. This prevents splitting and helps the screw fit better.
Safety and Maintenance
Avoiding Over-Torquing
Never exceed the recommended torque. Over-torquing can strip threads, break the head, or damage the hole. If you feel resistance before reaching the set value, stop and check for problems. Experts warn that too much force weakens the joint and shortens the life of your bolts.
Tool Care
Clean your torque wrench after each use. Store it in a dry place. Release the tension on the handle before you put it away. Regular checks and calibration keep your tool accurate. A well-maintained wrench gives you reliable results every time.
You can achieve professional results with a torque wrench. This method gives you control and confidence, especially for safety-critical jobs.
Extra Tips: Washers, Thread-Locking, and Material Choice
Using Washers with Hex Bolts
Load Distribution
It is best to use washers with hex bolts. Washers help spread the force over a bigger area. This stops the bolt head from pushing into the material. Softer materials like wood or plastic need this protection. In metalwork, washers keep the surface in good shape. The British Standards Institution says washers make bolted joints safer and stronger.
Reducing Loosening
Washers also help bolts stay tight for longer. Movement and shaking can make bolts come loose. A washer acts like a cushion. It takes in some of the movement and keeps the bolt tight. Spring washers or lock washers are good for places with lots of shaking.
Thread-Locking for High-Vibration Applications
Adhesive Types
Bolts can come loose quickly if things move a lot. Thread-locking glue can help stop this. You can pick low, medium, or high-strength glue. Low-strength is for small screws you might need to take out. Medium-strength is good for most jobs. High-strength glue is best if you never want to remove the bolt.
Application Steps
Clean the bolt and hole before using thread-locking glue. Put a small drop of glue on the threads. Put the bolt in and tighten it as needed. Let the glue dry as the instructions say. This keeps the bolt tight, even in machines or cars that shake a lot.
Tip: Always check if the glue works with your bolt material before you use it.
Choosing Galvanised or Stainless Bolts
Outdoor Use
Outdoor jobs need bolts that can handle weather. Pick hot-dip galvanised or stainless steel bolts for these jobs. Galvanised bolts do not rust easily and can handle sunlight. Stainless steel bolts, like Grade 316, are best near the sea or salty places. Grade 316 stainless steel lasts longer than galvanised bolts in tough weather.
Rust Prevention
Rust makes bolts weak and can break them. Stainless steel is best at stopping rust. Galvanised bolts also protect well outside. For the longest life, use stainless steel where there is saltwater or lots of rain.
Note: Picking the right bolt material saves you time and money later.
You can make your projects last longer by using washers, thread-locking glue, and the right bolts. These easy steps help keep your work safe and strong.
Quick Tips for Coach Screw Applications
Coach screws give you strong and reliable joints in wood and masonry. You can use them for heavy-duty tasks, such as fixing timber to walls or building garden structures. Here are some quick tips for coach screw applications to help you achieve the best results.
Selecting the Right Size
You should choose the correct size for your project. Measure the thickness of the materials you want to join. Pick a screw that is long enough to pass through the first piece and anchor firmly in the second. The diameter matters as well. Thicker screws hold more weight, but you must match the size to the strength of your material. If you use a screw that is too large, you risk splitting the wood. If you use one that is too small, the joint may not hold under load.
Tip: Always check the manufacturer’s recommendations for size and load capacity before you start.
Preparing the Material
Preparation is key for a secure fit. Start by marking out your fixing positions. This step prevents drift and ensures even spacing. Use a pencil and ruler for accuracy. Next, drill a pilot hole at each mark. The pilot hole should be slightly smaller than the screw’s diameter. This helps prevent splitting and makes it easier to drive the screw. For masonry, use a masonry bit and insert a wall plug before the screw. Always check the alignment and level before you drive any fastener. This keeps your project straight and strong.
Here is a simple checklist for preparation:
Mark out fixing positions.
Drill pilot holes to prevent splitting.
Check alignment and level.
Insert wall plugs for masonry.
Set fastener depth consistently.
Tightening Techniques
You can use a spanner or socket set to drive coach screws. Place the screw in the pilot hole and turn it slowly. Apply steady pressure to avoid damaging the head or thread. Drive fasteners in sequence if you have more than one in a joint. This method keeps the alignment true and prevents misalignment. Set the depth so the head sits flush with the surface, but do not over-tighten. Over-tightening can strip the thread or crush the material. After installation, check the tightness and joint integrity. Make adjustments if needed to ensure safety.
Note: Always wear gloves and eye protection when you drill or drive screws.
You can achieve strong, long-lasting joints by following these steps. Careful preparation and the right technique make all the difference when you use coach screws.
Common Mistakes with Bolts and How to Avoid Them
Over-Tightening Bolts
You might think that tighter means stronger. In reality, over-tightening weakens the joint. When you apply too much force, you strip the threads or deform the head. You risk damaging the hole, making it impossible to secure the fastener. Experts in mechanical engineering warn that excessive torque leads to premature failure. You should always follow the recommended torque values for each bolt. Use a torque wrench if you want precision. If you feel resistance before reaching the specification, stop and check for obstructions. Over-tightening also makes removal difficult, especially for coach screws in wood. You can avoid this mistake by tightening in stages and checking the fit after each turn.
Tip: Stop tightening when the bolt feels snug and the head sits flush with the surface.
Using Wrong Size or Tools
Choosing the wrong size bolt or tool causes many problems. If you use a bolt that is too small, the joint will not hold under load. A bolt that is too large damages the material and widens the hole. You must measure the diameter and length before installation. Use a ruler or calliper for accuracy. Experts recommend matching the tool to the fastener. A spanner or socket that does not fit slips and rounds the head. You should check the manufacturer’s guide for the correct size. If you work with a screw, select the right bit to avoid stripping the head. Using the wrong tool increases the risk of injury and makes the job harder.
Ignoring Washers or Cleaning
You might skip washers or cleaning to save time. This shortcut leads to loose bolts and damaged surfaces. Washers distribute the load and protect the material around the hole. Without washers, the head digs into wood or metal, causing wear. Cleaning the threads removes dirt and rust, ensuring smooth tightening. Experts in construction stress that clean threads improve joint strength. If you ignore cleaning, the screw binds or fails to seat properly. You should always place a washer between the head and the surface. Use a wire brush or cloth to clean the threads before installation. These steps help your bolts last longer and keep your project safe.
Note: Small steps like using washers and cleaning threads make a big difference in durability.
You can avoid these common mistakes by following expert advice and checking each step. Careful preparation and the right technique ensure strong, reliable joints in every application.
Skipping Inspection
You might feel tempted to skip inspecting your bolts before installation. This step often seems unnecessary, especially when you want to finish a project quickly. However, missing this check can lead to serious problems. Experts in mechanical engineering warn that even a small defect can cause a joint to fail under stress.
When you do not inspect bolts, you risk using fasteners with hidden cracks, worn threads, or rust. These faults weaken the joint and reduce the lifespan of your work. You may not see these issues at first, but they can lead to sudden failures. For example, a corroded bolt in outdoor furniture can snap during use. In machinery, a damaged thread can cause vibration and loosen the joint over time.
Tip: Always inspect bolts under good light. Look for rust, cracks, or bent threads. Replace any bolt that does not look perfect.
You should also check the fit of each bolt. Try threading it by hand before final tightening. If you feel resistance or see wobbling, the bolt may not match the hole or nut. Using the wrong fit can strip threads or leave the joint loose. This mistake often happens in repairs, where old holes may have changed shape.
Here is a simple checklist to help you avoid skipping inspection:
Examine each bolt for rust, cracks, or bent threads.
Check the head for rounding or damage.
Test the fit in the hole or nut by hand.
Clean the threads with a brush or cloth.
Confirm the bolt matches the material and grade needed.
You can prevent most bolt failures by following these steps. The Institution of Structural Engineers states that regular inspection is key for safety and durability in all bolted joints. You save time and money by catching problems early. You also protect users from injury and avoid costly repairs.
Note: Inspection takes only a few minutes but can save your entire project.
Skipping inspection may seem like a shortcut, but it often leads to bigger issues. Make inspection a habit for every job, whether you build furniture, repair machinery, or work outdoors. You will achieve stronger, safer, and longer-lasting results.
Secure Installation Checklist for Hex Bolts
A secure installation starts before you pick up any tools. Use this checklist to guide you through each stage and ensure every joint stays strong and safe.
Pre-Installation Checks
Inspect each bolt for rust, cracks, or bent threads. Replace any that show damage.
Confirm you have the correct size and grade for your application. Check the length and diameter match your materials.
Clean the threads of both the bolt and the hole. Remove dirt, oil, or old adhesive.
Gather all tools, including spanner, socket set, or torque wrench. Make sure each tool fits the bolt head properly.
Select washers that suit your material. Place them within reach for easy use.
Mark out fixing positions and drill pilot holes if you work with wood or masonry. This step prevents splitting and ensures a straight fit.
Tip: Preparation saves time and prevents mistakes later.
During Installation
Align the bolt with the hole. Insert it straight to avoid cross-threading.
Place a washer between the bolt head and the surface. This spreads the load and protects the material.
Tighten the bolt by hand at first. Use the correct tool to finish tightening. Apply steady, even pressure.
If you use a torque wrench, set it to the recommended value. Stop tightening when you reach the set torque.
For multiple fasteners in one joint, tighten each in stages. Alternate between them to keep the load balanced.
Avoid over-tightening. Stop when the bolt feels snug and the head sits flush.
Note: A screw that resists turning may have debris in the hole. Remove and clean before continuing.
Post-Installation Review
After installation, you need to confirm the security of each joint. Use these steps to check your work:
Test each connection by pressing or pulling on the joined materials. Watch for any movement.
Inspect the bolt heads and washers. Make sure they sit flat and show no signs of damage.
Review each joint for missed steps, such as missing washers or uncleaned threads.
Follow secure fastening tips at this stage to catch any installation errors.
Recheck torque values if you used a torque wrench. Adjust if needed.
Callout: A careful review helps you spot problems before they cause failure. This habit keeps your projects safe and long-lasting.
You have learned three simple ways to fit hex bolts tightly: Hand-tighten with a spanner for small tasks. Use a socket set if you want more control and power. Try a torque wrench when you need exact tightness. Always pick the right size and grade for your job. Check every bolt before you use it. Use the correct tools for each step. Follow the checklist and expert advice for the best outcome.
Remember: Put safety first and check your work often. This keeps your installations strong and dependable.
FAQ
What is the best tool for tightening hex bolts?
You achieve the most accurate tightening with a torque wrench. Experts recommend this tool for safety-critical applications. For smaller tasks, a spanner or socket set works well.
How do you prevent hex bolts from loosening over time?
You use washers and thread-locking adhesive. Spring washers absorb vibration. Thread-locking glue secures bolts in high-movement areas. Engineers advise checking bolts regularly for tightness.
Can you reuse hex bolts after removal?
You may reuse hex bolts if they show no signs of damage or corrosion. Inspect threads and heads carefully. Replace any bolt that looks worn. Structural engineers recommend new bolts for safety.
What grade of hex bolt should you use outdoors?
You select stainless steel or galvanised bolts for outdoor use. Stainless steel resists rust best. Galvanised bolts suit general outdoor projects. Experts suggest Grade 316 stainless steel for coastal areas.
Why do you need to clean bolt threads before installation?
You remove dirt and rust to ensure smooth tightening. Clean threads prevent binding and improve joint strength. Construction specialists stress that clean threads help bolts last longer.
How tight should you make a hex bolt?
You tighten until the bolt feels snug and the head sits flush. Use a torque wrench for precise jobs. Over-tightening can strip threads or damage materials. Follow manufacturer torque specifications.
What is the purpose of a washer with a hex bolt?
You use washers to spread the load and protect the material. Washers prevent the bolt head from digging into surfaces. Experts say washers reduce wear and help bolts stay tight.
How do you avoid splitting wood when installing hex bolts?
You drill a pilot hole before inserting the bolt. The pilot hole matches the bolt diameter. This step prevents splitting and makes installation easier. Carpenters recommend pilot holes for all wood joints.
Get Quote
Welcome To Know Our Products
Get Product and Service Information
Follow us
We provide OEM service and focus on stable quality, competitive pricing and responsive export support.


Contact Info
Add:Dongmingyang Industrial Park, Mingguan Town, Yongnian District, Handan City, Hebei Province China
Export salesman:
WhatsApp:+86 18830064300
E-mail: sales@hgtfix.com
Export salesman:
WhatsApp
+86 18830064300
E-mail:
Copyright © 2022 HEBEI YONGYI FASTENERS MANUFACTURING CO.,LTD Power by 300.cn | SEO