Welcome to Yongyi Fasteners, Your Reliable Fastener Supply Partner!

-
ProductsWe supply flat washers, spring washers, drop-in anchors, anchor bolts, hex nuts, hex bolts, sleeve anchors, threaded rods and OEM fastener products to DIN, BS, ANSI and MS standards.

-
About usHEBEI YONGYI FASTENERS MANUFACTURING CO.,LTD is located in China's largest fasteners production base Yongnian fasteners centre.
-
NewsHebei Yongyi Fasteners shares company updates, product knowledge and fastener industry news for global buyers.
-
ServiceThe products sold throughout the domestic and exported to Southeast Asia and Europe and other countries and regions. Our products win good reputation with domestic and foreign customers.



YONGYI FASTENERS
Support stable quality from material selection, processing and inspection to final delivery.
FOCUS ON HOT SPOTS


A Visual Guide to Identifying and Using Wheel Lug Nuts
Published:
2026-05-25
Author:
YONGYI FASTENERS
Identify the correct wheel lug nut for your car, match seat types, and follow safe installation steps to prevent wheel damage and ensure secure driving.
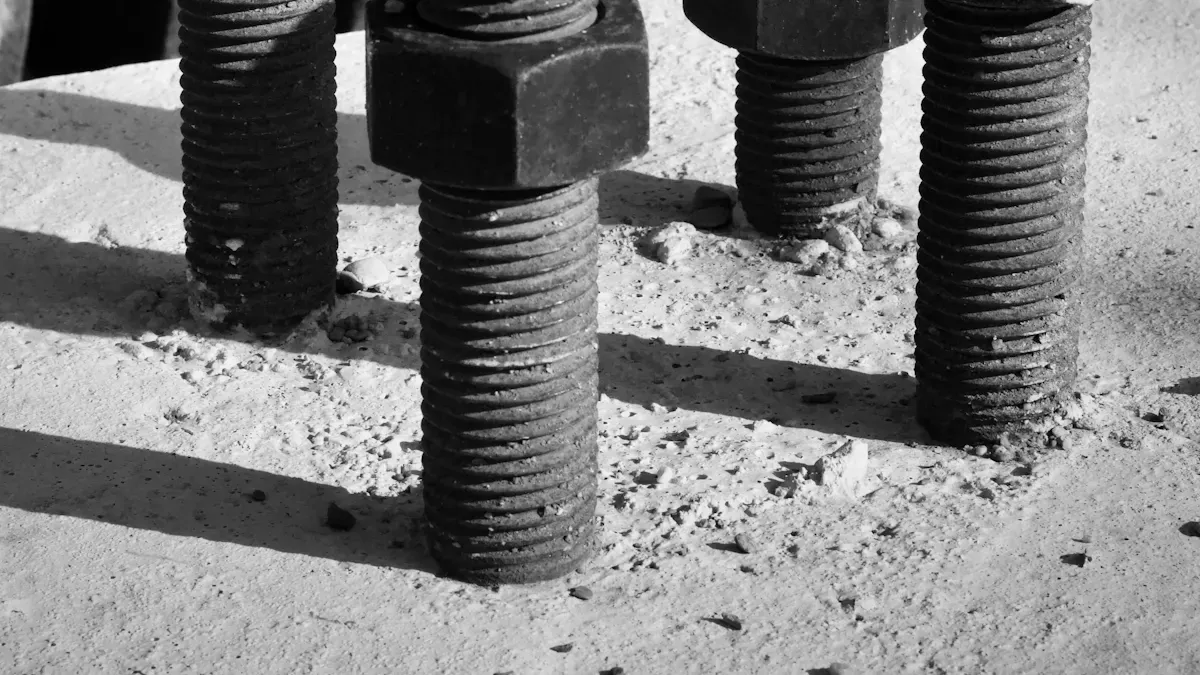
A wheel lug nut holds your wheel tightly to your car. Using the correct type and size makes your car safer. It also helps your car work better. If you use the wrong one, your wheel can get damaged. If you tighten it wrong, you could have an accident. Here are the most important things:
Always tighten lug nuts in a star pattern. This spreads the pressure evenly.
Use a torque wrench so you do not hurt the wheel or studs.
Check the torque again after driving a little. Nuts can get loose.
Knowing these basics keeps your drive safe and smooth. This is true no matter how much you know about cars.
What Are Wheel Lug Nuts
Function and Importance
You might look at your wheels and not think much about what holds them on. Wheel lug nuts do that important job. These small fasteners keep your wheels attached to your car’s axles. When you drive, your wheels spin fast and hit bumps. Wheel lug nuts make sure your wheels stay in place, even on rough roads.
Here’s what you need to know about wheel lug nuts:
They secure your wheels to the vehicle by threading onto wheel studs.
Most have a rounded or conical end. This shape helps center the wheel and keeps it from loosening.
You find wheel lug nuts on both steel and aluminum wheels.
Using the right wheel lug nuts keeps your wheels safe and helps your car perform well.
If you use the wrong wheel lug nuts, your wheels might not sit right. This can cause shaking, damage, or even make a wheel come off. That’s why you need to check the type and size before you install or replace them. Picking the correct wheel lug nuts means you drive safer and avoid costly repairs.
Lug Studs vs. Lug Nuts
You might wonder about the difference between lug studs and wheel lug nuts. Lug studs are the threaded bolts sticking out from your car’s hub. They stay attached to the car. Wheel lug nuts screw onto these studs to hold the wheel tight.
Think of it like this: the lug stud is the post, and the wheel lug nut is the cap that locks the wheel in place. You need both for a secure fit. If a lug stud gets damaged, you can’t tighten the wheel lug nut properly. Always check both parts when you work on your wheels.
Hub Caps and Protection
Wheel lug nuts face a lot of tough conditions. Rain, snow, road salt, and rocks can all cause damage. Hub caps help protect wheel lug nuts from these hazards. Many hub caps use strong materials that resist moisture, oxidation, and corrosion. They shield your wheel lug nuts from dirt and debris, so you spend less time cleaning and worrying about rust.
Here’s how hub caps help:
They block road debris, curbs, and rocks from hitting wheel lug nuts.
The material stands up to harsh weather and keeps out moisture.
Hub caps keep your wheel lug nuts cleaner and reduce how often you need to maintain them.
If you want your wheel lug nuts to last longer and work better, don’t forget about hub caps. They add a layer of protection that makes a real difference.
Types of Wheel Lug Nuts
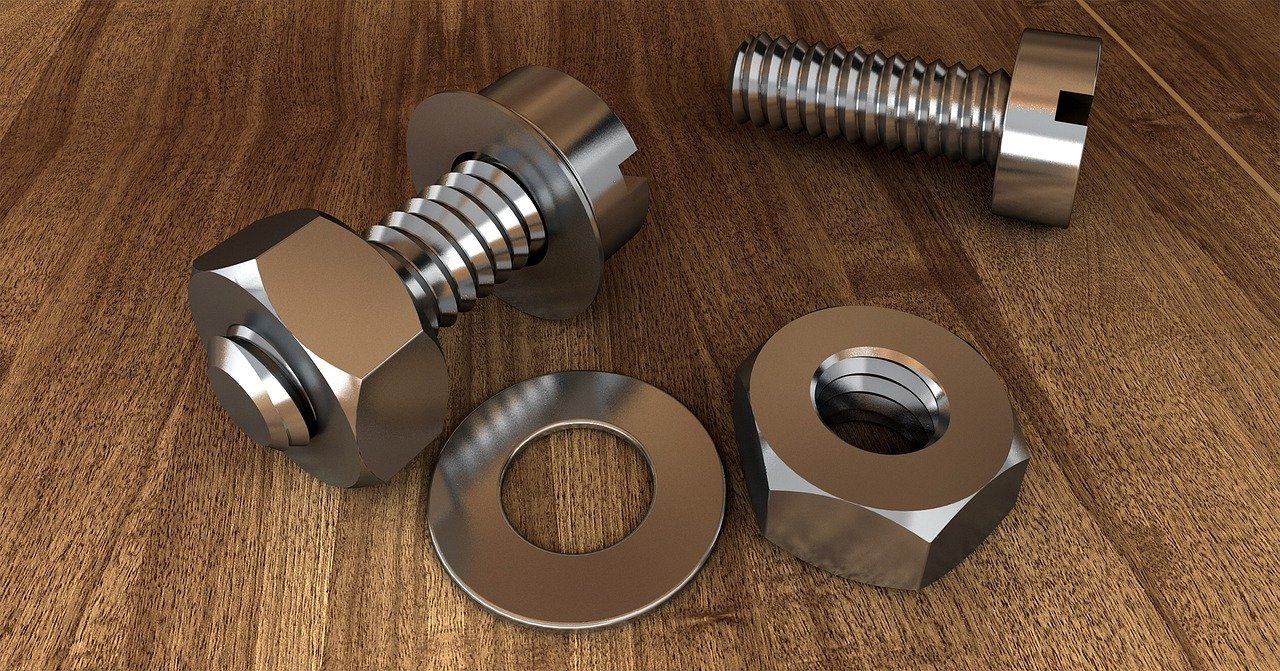
When you look at your wheels, you might notice that not all wheel lug nuts look the same. Each type has a unique shape and purpose. Picking the right one keeps your wheels secure and helps you avoid problems on the road. Let’s break down the most common types you’ll see.
Conical (Acorn) Lug Nuts
You’ll find conical wheel lug nuts on many cars and trucks. These have a cone-shaped base that fits into a matching seat on the wheel. The cone helps center the wheel and keeps it tight. If you want a simple, reliable choice, conical wheel lug nuts work well for most vehicles.
60° Tapered Seat
The 60° tapered seat is the secret behind the grip of conical wheel lug nuts. This angle matches the seat on your wheel. When you tighten the nut, the cone presses evenly against the wheel. This design keeps the wheel from shifting or coming loose. Always check that your wheel uses a 60° seat before installing these wheel lug nuts.
Tip: If you use the wrong seat type, your wheel might not sit flat. This can cause vibration or damage.
Spherical (Ball) Lug Nuts
Spherical wheel lug nuts have a rounded base, like a ball. You’ll see these on some European cars and specialty wheels. The ball shape fits into a matching curved seat on the wheel. This design allows for a smooth, even fit. If your wheels use a spherical seat, always stick with spherical wheel lug nuts. Mixing types can lead to unsafe driving.
Spherical wheel lug nuts help prevent uneven pressure.
They reduce the risk of damaging the wheel seat.
Flat Seat Lug Nuts
Flat seat wheel lug nuts have a wide, flat base. You often see these paired with a washer. The flat surface spreads the pressure across a larger area. This style works well for wheels that need extra support or have a soft finish. If your wheels came with washers, you probably need flat seat wheel lug nuts.
Flat seat wheel lug nuts are common on aftermarket wheels.
The washer helps protect the wheel from scratches.
Choosing the right wheel lug nuts for your car means checking the seat type first. Look at the shape of the nut and the wheel. Match them up for the best fit and safest drive.
Tuner and Mag Lug Nuts
You might notice some wheel lug nuts look slimmer or have a different shape. Tuner wheel lug nuts fit narrow holes on aftermarket wheels. You need a special key to install or remove them. This design keeps your wheels safe from theft and gives your car a custom look. If you drive a sports car or use performance wheels, tuner wheel lug nuts help you get a tight fit.
Mag wheel lug nuts have a flat seat and a long, straight body. You often see them paired with washers. The washer spreads the force, protecting your wheel’s finish. Mag wheel lug nuts work well for wheels with flat seats or soft materials. You get a secure hold and avoid scratches.
Tip: Always check if your wheels need a washer or a special key. Using the wrong type can damage your wheels or make them hard to remove.
Locking and Decorative Lug Nuts
Locking wheel lug nuts protect your wheels from theft. You install one locking nut per wheel. Each locking nut uses a unique pattern or key. Only you can remove them. If you park in public places or value your wheels, locking wheel lug nuts give you peace of mind.
Decorative wheel lug nuts add style to your car. You can pick from different shapes, colors, and finishes. Some have caps or covers that hide the nut and make your wheels look clean. Decorative wheel lug nuts let you match your car’s look or show off your personality.
Locking wheel lug nuts keep your wheels safe.
Decorative wheel lug nuts make your wheels stand out.
Lug Nut Finishes and Materials
Chrome, Stainless Steel, Black Oxide, Aluminum
You want wheel lug nuts that last and look good. The finish and material matter. Chrome wheel lug nuts shine and resist rust. Stainless steel wheel lug nuts stay strong and safe, even in tough weather. Black oxide wheel lug nuts have a special coating that does not chip. This keeps them looking sharp and protects against corrosion. Aluminum wheel lug nuts feel light and work well for racing or performance cars.
You get more than just looks with high-quality wheel lug nuts. Premium stainless steel gives you durability and safety. Special coatings, like black oxide, protect against chips and rust. You spend less time worrying about corrosion and more time enjoying your drive.
Note: Always pick wheel lug nuts made from strong materials. They last longer and keep your wheels safe.
If you want your wheels to stay secure and look great, choose the right finish and material. You protect your investment and avoid problems down the road.
Identifying Wheel Lug Nuts
You want to make sure your wheels stay secure. Picking the right lug nut starts with knowing how to spot the differences. Let’s break down the steps so you can identify lug nuts quickly and confidently.
Visual Features and Seat Types
You can spot the seat type by looking at the shape where the lug nut meets the wheel. Each seat type has a unique design. If you match the wrong seat, your wheel won’t sit right. That can lead to vibration or even loosening.
Here’s a handy chart to help you compare:
You can use these steps to identify the seat type:
Look at the lug hole on your wheel. If you see a tapered area, you have a cone seat. A rounded area means a ball seat. A flat surface points to a flat seat.
Check your vehicle or wheel specifications. Manufacturers list the seat type in the manual or on their website.
Tip: Matching the seat type is critical. If you’re unsure, check the National Highway Traffic Safety Administration’s wheel installation guidelines for more details.
Thread Pitch and Size
Thread pitch and size matter for a snug fit. If you use the wrong size, the nut won’t hold tight. You can measure thread pitch and size with a few simple tools.
Follow these steps:
Clean the wheel stud. Dirt or rust can hide the true size.
Use a dial caliper to measure the outside diameter of the stud.
Grab a thread gauge. Try different blades until you find the one that fits perfectly. This tells you the thread pitch.
Write down both the diameter and pitch. You’ll need these numbers to pick the right lug nut.
Note: Common thread sizes include M12 x 1.25 mm and M14 x 1.5 mm. Always double-check before buying new lug nuts.
Lug Pattern Measurement
Lug pattern tells you how your wheel fits onto the hub. You need to know the number of lug holes and the diameter of the circle they form. If the pattern doesn’t match, your wheel won’t fit. That can cause off-center mounting and loosening.
Here’s how you measure:
Count the lug holes on your wheel.
Measure the diameter of the circle that passes through the center of each lug hole. This is called the bolt circle diameter.
Write the pattern as “lug count × bolt circle diameter.” For example, “5 × 114.3 mm.”
Callout: Lug pattern is key for compatibility. If you get it wrong, your wheel won’t mount safely.
You can use these identification steps every time you work with wheels. You’ll avoid mistakes, keep your wheels secure, and drive with confidence.
Lug Nut Size Guide and Fitment
Determining Correct Size
You want your wheels to stay secure, so you need the right lug nut size guide. Start by removing one lug nut from your wheel. Clean the threads with a brush. Use a caliper to measure the diameter of the stud. Next, grab a thread pitch gauge and match it to the threads. The gauge should fit perfectly without gaps. Write down both numbers. For example, you might see M12 x 1.25 mm. This means the stud is 12 mm wide, and the thread pitch is 1.25 mm between threads.
If you don’t have a gauge, you can take your lug nut to an auto parts store. Many stores have sizing boards. Always double-check your vehicle manual or look for markings on the old lug nut. For more details, you can check the SAE J1963 Wheel Nut and Bolt Standard.
Tip: Never guess your lug nut size. A wrong fit can damage threads and make future maintenance harder.
Thread Pitch Examples (e.g., M12 x 1.25 mm)
Thread pitch tells you how tightly the lug nut grips the stud. You see this measurement in millimeters or threads per inch. Here’s a quick chart to help you compare common sizes:
You want the thread pitch to match exactly. If you force a lug nut with the wrong thread pitch, you risk cross-threading. That makes maintenance expensive and time-consuming. Always check both the diameter and the thread pitch before buying new lug nuts.
Matching Lug Nuts to Wheels and Vehicles
You need to match your lug nuts to your wheels and vehicle for safety and performance. Here’s why:
The right lug nut size and thread pitch prevent loosening and vibration.
Correct seat type ensures the lug nut grips the wheel evenly.
Proper fit gives you full thread engagement, which keeps your wheels secure.
Using the wrong seat type can reduce clamping force and increase the risk of wheel detachment.
If you switch to aftermarket wheels, check the seat type and thread pitch again. Some wheels use different lug nuts than your factory set. Always inspect your lug nuts during regular maintenance. Look for signs of wear, rust, or damage. Replace any lug nuts that look worn out. Good maintenance keeps your wheels safe and your drive smooth.
Callout: Matching lug nuts to your vehicle and wheels is not just about fit—it’s about safety. Take the time to check your specs and do regular maintenance. You’ll avoid costly repairs and keep your wheels where they belong.
You can use this lug nut size guide every time you change wheels or do maintenance. It helps you pick the right parts, avoid mistakes, and drive with confidence.
Tools for Installing Wheel Lug Nuts
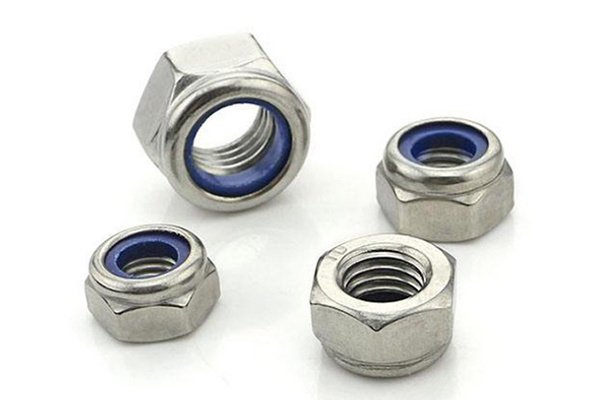
You want your wheels to stay secure and your hands to stay safe. The right tools for wheel lug nuts make every job easier. Let’s look at what you need before you start.
Lug Wrenches and Socket Sets
You need strong tools to remove and install lug nuts. A lug wrench gives you the leverage to loosen tight nuts. Most cars come with a basic wrench, but you can upgrade to a cross-shaped wrench for more grip. Socket sets help you fit the nut perfectly. Thick, heavy sockets resist cracking when you use force. You can swap out sockets to match different lug nut sizes.
Here’s a quick list of must-have tools:
Lug wrench (standard or cross-shaped)
Socket set with thick, heavy sockets
Jack and sturdy jack stands to lift and hold your car steady
Tip: Always double-check that your socket fits snugly on the lug nut. A loose fit can round off the edges and make removal tough.
Torque Wrenches and Specifications
A torque wrench is your best friend for safe wheel installation. This tool lets you tighten each lug nut to the exact level your car needs. If you over-tighten, you can damage the stud. If you under-tighten, the wheel might come loose. You want to follow the right torque specs for your vehicle.
Check out this table for common torque values:
You can find your car’s exact torque spec in the owner’s manual. Always use a torque wrench to finish tightening after hand-starting the nuts. This step keeps your wheels safe and prevents future problems.
Callout: Never guess the torque. Using the right tool and setting keeps your wheels secure and your car safe.
Safety Gear
You want to protect yourself while working with tools. Gloves keep your hands safe from sharp edges and dirt. Safety glasses shield your eyes from flying debris. These simple items make a big difference.
Here’s what you should wear:
Work gloves for hand protection
Safety glasses for eye safety
You can avoid cuts, scrapes, and eye injuries by using the right safety gear every time you work on your wheels.
Note: Safety gear is just as important as any other tool in your kit.
When you gather the right tools for the job, you make wheel work faster, safer, and easier. You save time, avoid mistakes, and keep your car running smoothly.
Installing Wheel Lug Nuts
You want your wheels to stay safe and secure. Installing wheel lug nuts the right way makes all the difference. This installation guide gives you a step-by-step process that helps you avoid mistakes and keeps your car running smoothly.
Preparation and Safety Steps
Before you start the installation, you need to get ready. Safety comes first. You protect yourself and your vehicle by following these steps:
Park your car on a flat surface. Engage the parking brake so your car does not roll.
Loosen the lug nuts slightly before lifting the vehicle. This keeps the wheel from spinning.
Use the correct jack points. Check your owner’s manual if you are not sure.
Lift the car and place it on sturdy jack stands. Never rely on the jack alone.
Clean the hub and wheel studs. Remove dirt, rust, or old grease. Inspect the studs for damage.
Check all lug nuts. Make sure you have the right size and seat type for your wheels.
Wear gloves and safety glasses. Protect your hands and eyes from sharp edges and debris.
Tip: Always check the torque specs for your vehicle before installation. Using the correct torque prevents damage and keeps your wheels secure.
You set yourself up for success by preparing carefully. You avoid injuries and make the installation process easier.
Hand-Tightening and Torque Sequence
Now you are ready for the step-by-step process of installing wheel lug nuts. You want to avoid cross-threading and get the correct torque every time.
Hand-thread each lug nut onto the stud. Turn them slowly and feel for resistance. If you feel a catch, stop and check the threads. Cross-threading can ruin the stud and make removal difficult.
Pre-tighten the lug nuts. Use a low setting on your impact tool or tighten by hand. Seat the wheel against the hub.
Tighten the lug nuts in a star or crisscross pattern. This spreads the pressure evenly and keeps the wheel centered.
Use a torque wrench to apply the correct torque. Check your vehicle’s manual for the right value. Most cars need between 80 and 160 Nm, but always confirm.
Lower the car slowly. Let the tire touch the ground before you apply full weight.
Perform a final torque check. Use the same star pattern. This ensures uniform clamping force and prevents loosening.
Here’s a quick table for torque values:
Callout: Always re-torque your lug nuts after driving 50–100 miles. This step keeps your wheels safe and prevents unexpected loosening.
You follow this installation guide every time you change wheels. You avoid uneven pressure and make sure your wheels stay tight.
Preventing Cross-Threading and Rust
Cross-threading and rust cause big problems during installation. You want to avoid both for a smooth ride and easy maintenance.
Always start lug nuts by hand. If you force them, you risk cross-threading. This damages the threads and makes future installation harder.
Clean the studs and nuts before installation. Dirt and rust hide damage and make cross-threading more likely.
Use anti-seize compound sparingly. Apply a small amount to the threads if your vehicle manual allows it. This helps prevent rust but do not overdo it.
Inspect lug nuts for signs of corrosion. Replace any that look rusty or worn.
Store spare lug nuts in a dry place. Moisture causes rust and weakens the metal.
Note: Cross-threading makes removal difficult and can lead to expensive repairs. Rust weakens the lug nuts and puts your safety at risk.
You keep your wheels secure by following these tips. You make installation easier and avoid costly problems down the road.
You now have a complete installation guide for installing wheel lug nuts. You know the step-by-step process, how to use the correct torque, and how to prevent cross-threading and rust. You can drive with confidence, knowing your wheels are safe.
Removing and Replacement of Wheel Lug Nuts
Safe Removal Steps
You want to remove your wheel lug nuts without damaging the wheel or studs. Here’s a simple process you can follow:
Spray a little WD-40 at the base of each lug nut. If you see rust, tap the nut gently with a hammer to help break it loose.
Pick the right socket for your lug nut. If the nut looks rounded, tap the socket onto it until it fits snugly.
Grab a breaker bar. Place it on the socket and tap the handle to start loosening the nut.
Apply steady pressure. Don’t rush. The nut should break free with a little effort.
If the nut gets stuck in the socket, tap the socket to knock it out.
You can use these steps for removing lug nuts safely. This method helps you avoid stripped threads and keeps your wheels in good shape.
Tip: Always loosen the lug nuts before lifting your car with a jack. This keeps the wheel from spinning and makes the job easier.
When to Replace Lug Nuts
You should check your lug nuts every time you rotate or change your tires. Look for signs of wear, rust, or damage. If you see cracks, stripped threads, or heavy corrosion, it’s time to think about replacing wheel lug nuts. Old or damaged nuts can’t hold your wheels tight. That puts your safety at risk.
You might also need replacement lug nuts if you switch to new wheels. Some wheels use a different seat type or size. Always match the new lug nuts to your wheel’s specs. Don’t reuse old nuts if they look worn out or don’t fit right.
Alert: Never ignore damaged or rusty lug nuts. Replacing wheel lug nuts keeps your wheels secure and your drive safe.
Handling Damaged or Stuck Lug Nuts
Sometimes, a lug nut just won’t budge. You might see rust, or the nut might feel rounded off. Here’s what you can do:
Spray more WD-40 and let it soak for a few minutes. This helps loosen rust and grime.
Use a bolt extractor socket if the nut is stripped. These sockets grip tight and help you turn stubborn nuts.
Tap the nut gently with a hammer. This can break the rust’s grip.
Try heat. A quick burst from a heat gun can expand the metal and make removal easier.
If nothing works, visit a professional. Forcing a stuck nut can break the stud or damage your wheel.
You want to keep a few replacement lug nuts on hand. If you damage a nut during removal, swap it out right away. Fresh nuts make installation smoother and safer.
Note: Don’t use power tools to force off stuck nuts. You could snap the stud or warp the wheel.
You can handle most lug nut problems with patience and the right tools. Regular checks and quick action keep your wheels safe and your repairs simple.
Maintenance and Safety Tips
Regular Inspection
You want your wheels to stay safe and secure. Regular inspection is your first line of defense. Check your lug nuts every time you rotate your tires or do a quick visual check during routine car washes. Look for rust, cracks, or any sign of wear. If you spot a problem, plan for immediate replacement. Don’t wait for a breakdown on the road. A quick inspection can save you from bigger issues later.
You should also check the tightness of each lug nut. Use your torque wrench and follow your vehicle’s lug nut torque spec. If you notice any loose nuts, tighten them right away. This simple step keeps your wheels from wobbling or coming off. Make inspection a habit, and you’ll catch problems before they get serious.
Cleaning and Lubrication
Keeping your lug nuts clean and lubricated helps prevent rust and makes future removal easier. Start by brushing off dirt and debris from the wheel studs. Moisture and grime can lead to corrosion, so don’t skip this step. If you live in a wet or snowy area, clean your lug nuts more often.
Apply a small amount of anti-seize to the threads. This compound stops rust from forming and keeps the nuts from sticking. Don’t use too much—just a thin layer does the job. Use anti-seize on both the studs and the inside of the lug nuts. This practice makes future replacement simple and prevents cross-threading.
Here’s a quick cleaning and lubrication guide:
Brush off all dirt and rust from studs and nuts.
Wipe dry to remove moisture.
Apply a thin layer of anti-seize to threads.
Avoid over-lubricating, which can affect tightness.
Use corrosion-resistant studs if possible.
If you follow this guide, you’ll extend the life of your lug nuts and make every replacement easier. You also reduce the risk of stuck or rusted nuts.
Re-Torquing After Installation
After you install new lug nuts or complete a replacement, you need to re-torque them. This step is easy to overlook, but it’s critical for safety. Drive your car for about 50 to 100 miles, then check the tightness again. Materials can settle or shift after installation, especially with new wheels or studs. Temperature changes during driving can also affect tightness.
Grab your torque wrench and follow your lug nut torque spec. Re-torquing ensures the nuts stay at the right tightness and prevents vibration or wheel detachment. Service centers report that early re-torquing reduces the chance of loosening and helps your installation last longer.
Tip: Set a reminder on your phone to check tightness after every replacement or wheel change. This habit keeps your wheels secure and gives you peace of mind.
If you stick to this guide, you’ll avoid common problems and keep your wheels safe. Regular inspection, cleaning, lubrication with anti-seize, and re-torquing form the foundation of good wheel maintenance.
Storing Spare Lug Nuts
You probably have a few spare lug nuts rolling around in your toolbox or glove compartment. If you don’t store them right, you risk losing them or letting them rust. You want your spares ready when you need them, especially during roadside emergencies or after a tire rotation.
Let’s talk about why storing spare lug nuts matters. You keep your wheels safe by having extras on hand. If you drop one during a tire change, you don’t have to scramble. You also avoid delays at the shop if a mechanic finds a damaged nut. Proper storage keeps your spares clean, dry, and easy to find.
You can use several methods to store spare lug nuts. Here’s a quick table to help you compare:
You want to pick a method that fits your routine. If you work in your garage, a magnetic tray keeps nuts from rolling away. If you travel often, a zip-top bag or pouch fits in your glove box. Always label your storage container with the lug nut size and seat type. This saves time when you need a replacement.
Here are some tips for storing spare lug nuts:
Clean each nut before storing. Dirt and grease cause corrosion.
Dry the nuts completely. Moisture leads to rust.
Store in a cool, dry place. Avoid leaving them in damp garages or trunks.
Keep spares away from chemicals and battery acid. These substances weaken metal.
Check your spares every few months. Look for signs of rust or wear.
Tip: If you switch wheels or upgrade your vehicle, update your spare lug nut collection. Old nuts may not fit new wheels.
You can also keep a small set of spares in your emergency kit. This helps during roadside repairs. If you lose a nut, you don’t have to wait for help. You stay prepared and keep your wheels secure.
Storing spare lug nuts isn’t just about organization. You protect your investment and make maintenance easier. You avoid headaches and keep your car ready for anything. Take a few minutes to set up a storage system. You’ll thank yourself the next time you need a quick replacement.
You can keep your wheels safe by following a few simple steps:
Inspect and clean your lug nuts often.
Use the right size and seat type for your wheels.
Tighten nuts in a star pattern with a torque wrench.
Recheck torque after driving 50–100 miles.
Replace damaged or rusty nuts right away.
Regular checks and proper fitment help your car handle better and prevent wheel problems. If you ever feel unsure, ask a pro for help. Safe wheels start with the right lug nuts!
FAQ
How do you know if you have the proper lug nuts for your wheels?
You check your vehicle manual or wheel specs. Look at the seat type and lug nut thread. If you see a mismatch, swap them out. Using proper lug nuts keeps your wheels safe and prevents vibration.
Why is a torque wrench important when installing lug nuts?
A torque wrench helps you tighten each nut to the right level. You avoid over-tightening or leaving nuts loose. This tool protects your wheel studs and keeps your wheels secure. You should always use a torque wrench for safety.
What happens if you use the wrong lug nut thread?
If you use the wrong lug nut thread, you risk cross-threading. The nut won’t grip the stud properly. You might damage the threads or make removal difficult. Always match the thread size to your wheel studs.
How often should you check lug nut tightness with a torque wrench?
You check tightness after every wheel change. Drive 50 to 100 miles, then re-torque the nuts. Regular checks with a torque wrench prevent loosening and keep your wheels safe. Make this a habit for every tire rotation.
What are the main safety precautions when working with wheel lug nuts?
You wear gloves and safety glasses. Park on a flat surface and use jack stands. Always hand-start nuts to avoid cross-threading. Use a torque wrench for final tightening. These safety precautions protect you and your wheels.
How do you troubleshoot wheel lug nuts that won’t come off?
You spray lubricant and let it soak. Try a breaker bar or extractor socket. Tap the nut gently if needed. If the nut stays stuck, visit a professional. Troubleshooting wheel lug nuts saves you time and prevents damage.
Can you mix different types of lug nuts on one wheel?
You shouldn’t mix types. Always use proper lug nuts that match your wheel’s seat and lug nut thread. Mixing types can cause uneven pressure and unsafe driving. Stick to one style for each wheel.
What’s the best way to store spare proper lug nuts?
You keep spares in a dry, labeled container. Clean and dry each nut before storing. Avoid moisture and chemicals. Having proper lug nuts ready helps during emergencies and makes maintenance easier.
Get Quote
Welcome To Know Our Products
Get Product and Service Information
Follow us
We provide OEM service and focus on stable quality, competitive pricing and responsive export support.


Contact Info
Add:Dongmingyang Industrial Park, Mingguan Town, Yongnian District, Handan City, Hebei Province China
Export salesman:
WhatsApp:+86 18830064300
E-mail: sales@hgtfix.com
Export salesman:
WhatsApp
+86 18830064300
E-mail:
Copyright © 2022 HEBEI YONGYI FASTENERS MANUFACTURING CO.,LTD Power by 300.cn | SEO