Welcome to Yongyi Fasteners, Your Reliable Fastener Supply Partner!

-
ProductsWe supply flat washers, spring washers, drop-in anchors, anchor bolts, hex nuts, hex bolts, sleeve anchors, threaded rods and OEM fastener products to DIN, BS, ANSI and MS standards.

-
About usHEBEI YONGYI FASTENERS MANUFACTURING CO.,LTD is located in China's largest fasteners production base Yongnian fasteners centre.
-
NewsHebei Yongyi Fasteners shares company updates, product knowledge and fastener industry news for global buyers.
-
ServiceThe products sold throughout the domestic and exported to Southeast Asia and Europe and other countries and regions. Our products win good reputation with domestic and foreign customers.



YONGYI FASTENERS
Support stable quality from material selection, processing and inspection to final delivery.
FOCUS ON HOT SPOTS


How Do You Install Wire Rope Clamps Safely
Published:
2026-05-11
Author:
YONGYI FASTENERS
Install wire rope clamps safely by inspecting, spacing, and tightening clamps to the correct torque. Follow step-by-step guidelines for secure connections.
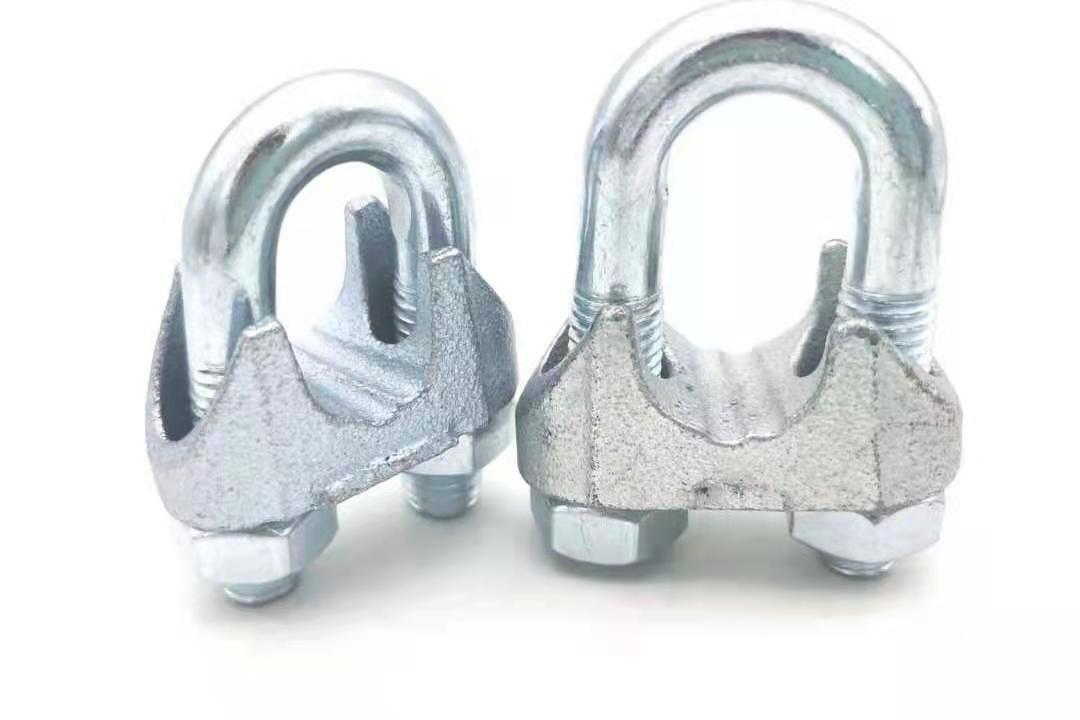
You ensure safe wire rope clamp installation by choosing the right clamp size and following precise steps. Matching the clamp size to the wire rope diameter prevents slippage and boosts load capacity. Here’s how you do it:
Measure the wire rope diameter with a caliper.
Check the manufacturer’s sizing chart for an exact match.
Tighten the clamp to the recommended torque.
Stainless steel pipe clamps play a key role in holding pipes securely, even when vibration or movement occurs. This strong grip keeps your setup reliable and safe.
Wire Rope Clamp Tools and Materials
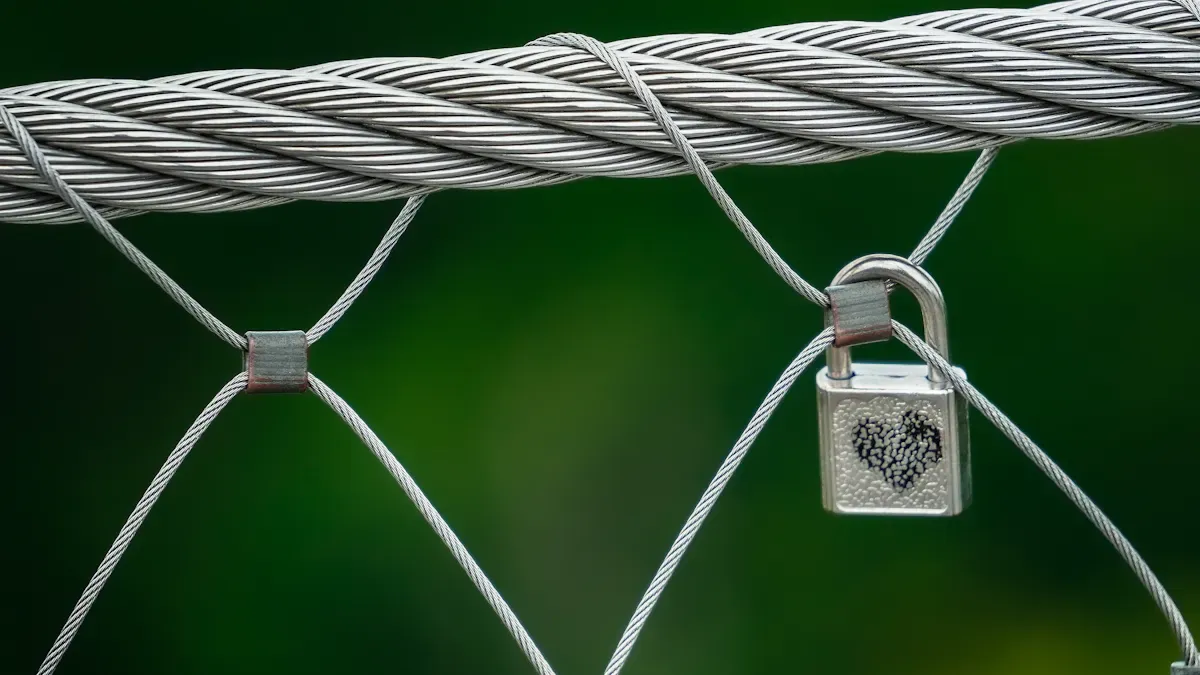
You need the right tools and materials before you begin. The correct equipment helps you stay safe. It also makes your wire rope connections last longer.
Required Tools
Wrenches
Wrenches are used to tighten the nuts on clamps. Pick a wrench that fits the nut well. This stops the wrench from slipping and keeps your hands safe. A good grip lets you press evenly, which is important for a strong hold.
Torque Wrench
A torque wrench helps you tighten nuts with the right force. The manufacturer tells you how much force to use. This tool stops you from making the nuts too tight or too loose. Both mistakes can break the clamp or hurt the rope. Using the right force keeps your work safe and strong.
Wire Cutters
Wire cutters are used to cut the wire rope to the size you need. Sharp cutters make smooth cuts and stop the ends from fraying. Smooth ends help you put the rope into the clamp and thimble easily.
Tape Measure
A tape measure is used to check the length of the wire rope. It also helps you space the clamps in the right spots. Good measuring means you use the right number of wire rope clips. You also put them in the right places. This is important for safety and sharing the load.
Safety Gear
Always wear gloves and safety glasses. Gloves keep your hands safe from sharp wires. Safety glasses protect your eyes from flying bits when you cut or tighten the rope.
Materials
Wire Rope
Pick strong wire rope for your job. Good wire rope lasts longer and works better. Using the right wire rope clips keeps the rope strong and safe. Always check the rope for damage before you use it.
Good wire ropes last longer and work better.
The right clips keep the rope strong and safe.
Good clips stop the rope from slipping and help it last longer.
Wire Rope Clamp
A wire rope clamp holds the ends of the rope together. The clamp must be the right size for your rope. This stops the rope from slipping and keeps it strong. Stainless steel pipe clamps are best for places with lots of chemicals. They do not rust or break down like plain steel or zinc clamps. This means they last longer and work better.
Stainless steel clamps do not get damaged by chemicals, so they are good for tough places.
Plain steel or zinc clamps can rust fast when they touch other metals.
Do not use plain steel or zinc clamps on bare copper pipes because they can fail badly.
Thimbles
Thimbles protect the wire rope where it makes a loop. They stop the rope from bending too much and help it keep its shape. Thimbles make your rope last longer and keep things safer.
Tip: Gather all your tools and materials before you start. This saves time and helps you not make mistakes when you install the clamps.
Preparing Wire Rope for Clamps
Inspect Rope
You start by checking the wire rope for any signs of damage. Look for broken wires, rust, or kinks. These problems weaken the rope and make your setup unsafe. Run your fingers along the rope to feel for rough spots or sharp edges. If you find any, replace the rope before you install clamps.
Manufacturers recommend several key inspection steps before you begin:
Check for correct clamp spacing. The distance between clamps should equal six times the wire rope diameter.
Count the number of clamps needed. For ropes 8–10 mm thick, use three clamps. For 12–16 mm, use four clamps. For 18–22 mm, use five clamps.
Follow golden safety rules:
Never saddle a dead horse. Always place the saddle on the live end of the rope.
Make sure all clamps face the same direction.
Re-tighten clamps after initial use.
Inspect and load test regularly.
Tip: Careful inspection prevents accidents and keeps your wire rope strong. You protect yourself and others by following these steps.
Cut to Length
Measure the wire rope with a tape measure. Mark the spot where you need to cut. Use sharp wire cutters for a clean cut. A clean cut stops the rope from fraying and makes it easier to fit into the clamp and thimble.
You should cut the rope a little longer than your final measurement. This gives you room to work and adjust the clamps. After cutting, check the end for loose wires. If you see any, trim them off.
Note: Always wear gloves when cutting wire rope. Gloves protect your hands from sharp wires and prevent injuries.
Seal Ends
Sealing the ends of the wire rope keeps the strands from unraveling. You can use tape, heat shrink tubing, or a metal ferrule. Wrap the end tightly so no wires stick out. Sealed ends make it easier to slide the rope through clamps and thimbles.
If you use heat shrink tubing, slide it over the cut end and apply heat. The tubing shrinks and holds the wires together. Metal ferrules work well for heavy-duty jobs. You crimp the ferrule onto the rope with pliers.
Callout: Sealed ends help your wire rope last longer. They also make your installation safer and neater.
You now have a wire rope that is ready for clamps. Careful inspection, precise cutting, and proper sealing set the stage for a strong and safe connection.
Layout for Clamping
You need to lay out your wire rope carefully before you install any clamps. This step helps you avoid mistakes and keeps your connection strong. You start by placing the wire rope on a flat surface. Make sure the rope is straight and free from twists. Twisted rope can weaken your setup and cause uneven pressure on the clamps.
Next, you decide where to put each clamp. Manufacturers recommend spacing clamps at least six times the diameter of your wire rope. For example, if your rope is 10 mm thick, you space each clamp about 60 mm apart. This spacing spreads the load and keeps the rope from slipping.
You also need to plan the loop or eye at the end of the rope. If you use a thimble, place it inside the loop before you mark clamp positions. The thimble protects the rope from bending too much and helps keep the loop round. You mark the spot for the first clamp right next to the thimble. This clamp holds the loop tight and stops it from opening.
Here is a simple table to help you figure out clamp spacing:
You check your marks twice to make sure you have the right number of clamps and the correct spacing. You use a tape measure for accuracy. If you work in a busy area, mark the spots with colored tape or chalk. This helps you see where each clamp goes and keeps your work organized.
Tip: Always keep the saddle of each clamp on the live end of the rope. This rule prevents damage and keeps your connection safe.
You also check the orientation of the clamps. All clamps should face the same direction. This keeps the pressure even and stops the rope from twisting. You lay out the rope so the dead end runs parallel to the live end. This makes it easier to install the clamps and keeps the loop neat.
If you work in a place with vibration or movement, like transportation or construction, use stainless steel pipe clamps for extra strength. These clamps resist corrosion and hold tight even when the environment is tough.
You finish by reviewing your layout. Make sure the rope is straight, the marks are clear, and the loop is round. Careful layout makes installation faster and safer. You avoid mistakes and keep your wire rope connection strong.
Installing Wire Rope Clips Step-by-Step
You want your wire rope clamp installation to hold strong under pressure. This step-by-step guide will help you get it right the first time. Follow these steps to make sure your wire rope clips stay secure, even in tough conditions.
Position First Clamp
Saddle Placement
Start by placing the first wire rope clamp near the loop or thimble. The saddle must always sit on the live end of the rope. The live end carries the load, so the saddle supports it without crushing the strands. The U-bolt goes on the dead end, which does not carry the main load.
Place the saddle on the live end.
Position the U-bolt on the dead end.
Make sure all wire rope clips face the same direction.
Tip: Remember the saying, “Never saddle a dead horse.” This rule keeps your wire rope strong and safe.
Distance from Rope End
Set the first clamp as close as possible to the thimble or loop, but leave enough space so the clamp does not pinch the thimble. Usually, you place the first clamp one saddle width from the rope’s end. This distance helps the clamp grip the rope without slipping.
Tighten Nuts Evenly
Torque Values
Use a wrench to tighten the nuts on your wire rope clamp. Tighten both nuts evenly so the saddle presses flat against the rope. Uneven pressure can damage the strands or cause the clamp to slip. For best results, use a torque wrench and follow the manufacturer’s recommended torque values. This step ensures the clamp holds the load without crushing the rope.
Note: Over-tightening can flatten the rope. Under-tightening can let the rope slip. Always check the torque chart for your clamp size.
Add More Clamps
Clamp Spacing
After you secure the first clamp, add the rest of your wire rope clips. Space each clamp at least six times the diameter of your wire rope. This spacing spreads the load and keeps the rope from slipping. For example, if your rope is 10 mm thick, place each clamp about 60 mm apart.
Here is a quick reference table for clamp spacing:
For wire rope, always check the manufacturer’s chart for the best spacing.
Number of Clamps
The number of wire rope clips you need depends on the rope’s diameter and the load. Most jobs use at least three clamps for small ropes and up to five for larger ones. More clamps mean better grip and safety. Always follow the chart for your rope size.
Callout: Regular inspection and load testing are essential. Check your clamps after installation and before each use.
You can find more details and safety standards for installing wire rope clips at OSHA’s official guidelines.
By following this step-by-step guide, you make sure your wire rope clamp installation is safe and reliable. This process works for many applications, from construction to transportation, where vibration and movement can loosen ordinary fasteners. Stainless steel pipe clamps from YONGYI FASTENERS offer extra strength and corrosion resistance for harsh environments.
Check Clamp Security
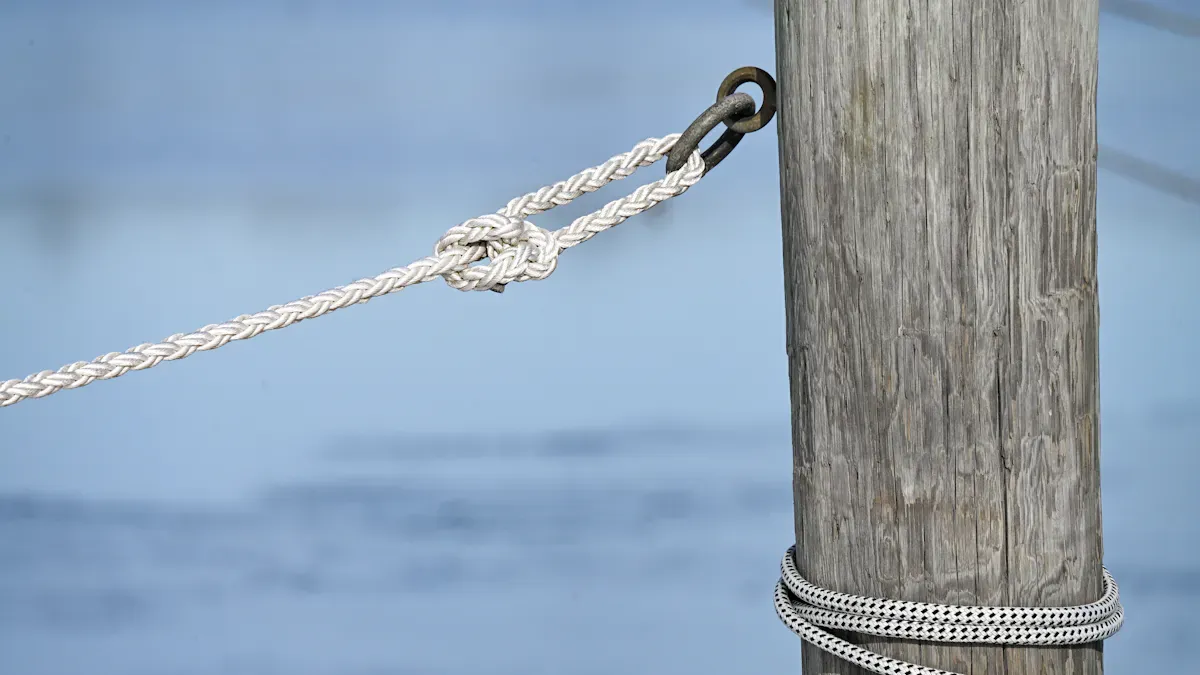
You need to check your wire rope clamps after you finish installing them. This step makes sure your setup is safe and strong. You want to catch any mistakes before you put the rope under load. Careful inspection helps you avoid accidents and keeps your equipment working well.
Final Torque Check
Start by checking the tightness of every nut on your wire rope clips. Use your torque wrench to make sure each nut matches the recommended torque from the manufacturer. If you find a nut that is too loose or too tight, adjust it right away. Even pressure on all nuts means your clamps will hold the rope securely. You should always do this check after the first load is applied, because the rope can settle and loosen the nuts a little. A final torque check is a key part of proper installation.
Tip: Write down the torque values you use. This record helps you with future inspections and shows you followed safety steps.
Alignment Inspection
You must inspect the alignment of your clamps to make sure they are properly installed. Follow these steps for a thorough check:
Look at both heads of each clamp. Make sure they touch the rope evenly.
If you see uneven contact, loosen the clamp and reposition it for balance.
Try to move the rope by hand. The rope should not shift in any direction if the clamp is secure.
Check that the screw rod is straight, not angled. This ensures even pressure.
Use a straight edge or a square to confirm the clamp sits in line with the rope before you tighten it.
A good alignment stops the rope from twisting or slipping. It also spreads the load evenly, which keeps your connection safe.
Load Test
You need to test your wire rope assembly before you use it for heavy lifting or pulling. A load test checks if your clamps can handle the force they will face in real use. Here is how you do it:
Apply a controlled load up to 1.5 times the Safe Working Load (SWL) of your wire rope.
Watch the clamps and rope closely during the test. Look for any movement, slipping, or deformation.
If everything stays in place, your clamps are ready for use.
If you see any problems, stop the test and fix the issue before using the assembly.
Load testing gives you confidence that your wire rope clips will hold up under stress. It also helps you spot weak points before they cause trouble.
Note: Regular inspections and tests are important for safety, especially in places with vibration or heavy use.
By following these steps, you make sure your wire rope clamps are secure and ready for work. Proper checks and tests protect you, your team, and your equipment.
Safety Tips and Common Mistakes
When you install wire rope clamps, safety must come first. You protect yourself and others by following proven safety practices and avoiding common errors. Mistakes can lead to equipment failure or even injury. Here’s how you can work smarter and safer.
Safety Practices
Protective Gear
You should always wear the right protective gear. Gloves shield your hands from sharp wire ends. Safety glasses keep your eyes safe from flying metal bits. If you work in a noisy area, use ear protection. Sturdy shoes help prevent slips and protect your feet from falling tools.
Safe Environment
Set up your workspace before you begin. Clear away clutter and keep your tools within reach. Good lighting helps you see each step clearly. If you work outdoors, check for wet or uneven ground. Never rush—take your time to avoid accidents.
Tip: A safe environment reduces mistakes and helps you focus on the task.
You also need to follow industry guidelines for every installation. Here are some key rules:
Space each clamp six times the wire rope diameter.
Use the correct number of clamps for your rope size.
Place the saddle on the live end of the rope.
Make sure all clamps face the same direction.
Re-tighten clamps after the first load.
Inspect and load test your assembly regularly.
Never overload your wire rope assembly.
Replace the rope if you find broken wires or too much wear.
Keep records of your maintenance and inspections.
Only trained operators should install and check wire rope clamps.
Common Errors
Wrong Clamp Orientation
If you put the saddle on the wrong side, you weaken the rope. Always remember: saddle on the live end, U-bolt on the dead end. This rule keeps your connection strong.
Incorrect Number
Using too few clamps can cause the rope to slip or fail. Too many clamps can crush the rope. Always match the number of clamps to your rope’s diameter. For example, use three clamps for 8–10 mm ropes, four for 12–16 mm, and five for 18–22 mm. If you use the wrong number, you risk cable slippage, mechanical failure, or even electrical hazards if the rope is part of a conductor system.
Improper Tightening
If you do not tighten the nuts evenly, the clamp may not grip the rope. Over-tightening can flatten the rope and weaken it. Under-tightening lets the rope slip. You must use a torque wrench and follow the recommended values. Another common mistake is skipping the re-tightening step after the first load. The rope can settle, making the clamps loose.
Alert: Not applying proper back tension during installation can cause the rope to spool unevenly, leading to early failure and costly repairs.
You avoid these mistakes by following each step carefully. When you use wire rope clips, always check your work and never skip safety checks. Your attention to detail keeps your equipment reliable and your team safe.
Maintenance and Troubleshooting
Keeping your wire rope clamps in top condition helps you avoid sudden failures and costly downtime. You need a clear plan for inspection, retightening, and fixing problems. This section gives you practical steps for ongoing care and quick troubleshooting.
Routine Inspection
You should check your wire rope clamps often. Regular checks help you spot problems before they become serious. In industrial settings, you need to inspect clamps every day before you use lifting or high-risk equipment. For less demanding jobs, you can do a full inspection once a month or every three months, depending on how much you use the equipment.
Inspect clamps daily before each use if you work with lifting or high-risk gear.
Schedule monthly or quarterly checks for equipment that sees less action.
During each inspection, look for these signs:
Loose nuts or bolts
Rust or corrosion, especially in harsh environments
Crushed or frayed wire rope near the clamp
Clamps that have shifted or moved out of alignment
If you find any of these issues, fix them right away. Early action keeps your setup safe and reliable.
Retightening Clamps
Wire rope can stretch or settle after you first load it. This movement can make clamps loose. You need to retighten all nuts after the first heavy use. Use a torque wrench to match the manufacturer’s recommended values. Even pressure on each nut keeps the clamp secure.
Tip: Mark each nut with a paint pen after tightening. This makes it easy to see if a nut moves during use.
Check the clamps again after a few days of operation. If you see any movement or loosening, retighten the nuts. For equipment that faces vibration or heavy loads, make retightening part of your regular maintenance routine.
Addressing Failures
Sometimes, problems happen even with good care. If you notice a clamp has failed, act fast. Stop using the equipment right away. Look for these common causes:
Clamp installed backwards (saddle on the dead end)
Not enough clamps used for the rope size
Nuts not tightened to the right torque
Rope damaged by sharp bends or overload
Replace any damaged clamps or wire rope. If you see rust or deep wear, switch to a stainless steel pipe clamp for better resistance. Always follow the correct installation steps when you replace parts.
Alert: Never reuse a clamp that shows cracks, heavy rust, or bent parts. Using damaged hardware puts everyone at risk.
By following these steps, you keep your wire rope clamps working safely. Routine checks, timely retightening, and quick repairs help you avoid accidents and keep your operations running smoothly.
You can install wire rope clamps safely by following these steps:
Inspect and prepare your wire rope.
Place each clamp with the saddle on the live end.
Tighten nuts to the correct torque.
Space clamps evenly and use the right number.
Check and retighten clamps after use.
Remember: Regular inspection and high-quality clamps keep your setup secure. Your attention to detail protects everyone on the job.
FAQ
How do you choose the right wire rope clamp size?
You measure the wire rope diameter with a caliper. Match this measurement to the clamp manufacturer’s sizing chart. Using the correct size prevents slippage and ensures safe load handling.
Can you reuse wire rope clamps?
You should not reuse wire rope clamps. Clamps can deform after tightening. Reusing them may weaken your connection and increase the risk of failure.
Why is stainless steel preferred for clamps in harsh environments?
Stainless steel resists corrosion and holds strong under vibration. You get reliable performance in places with chemicals, moisture, or movement. This material lasts longer than plain steel.
How often should you inspect wire rope clamps?
You inspect wire rope clamps before each use in high-risk jobs. For less demanding tasks, check them monthly. Regular inspection helps you spot loose nuts, rust, or wear early.
What does “never saddle a dead horse” mean?
You place the saddle on the live end of the rope. The U-bolt goes on the dead end. This rule protects the rope from crushing and keeps your connection safe.
How many clamps do you need for a wire rope loop?
You use three clamps for ropes 8–10 mm thick, four for 12–16 mm, and five for 18–22 mm. Always check the manufacturer’s chart for your specific rope size.
What should you do if a clamp fails during use?
You stop using the equipment immediately. Inspect the rope and clamps for damage. Replace any faulty parts. Retighten all nuts and test the assembly before resuming work.
Can you use wire rope clamps for lifting applications?
You can use wire rope clamps for lifting, but only if you follow safety guidelines. Always inspect, use the correct number, and test the assembly. For critical lifts, choose high-quality clamps like those from YONGYI FASTENERS.
Get Quote
Welcome To Know Our Products
Get Product and Service Information
Follow us
We provide OEM service and focus on stable quality, competitive pricing and responsive export support.


Contact Info
Add:Dongmingyang Industrial Park, Mingguan Town, Yongnian District, Handan City, Hebei Province China
Export salesman:
WhatsApp:+86 18830064300
E-mail: sales@hgtfix.com
Export salesman:
WhatsApp
+86 18830064300
E-mail:
Copyright © 2022 HEBEI YONGYI FASTENERS MANUFACTURING CO.,LTD Power by 300.cn | SEO